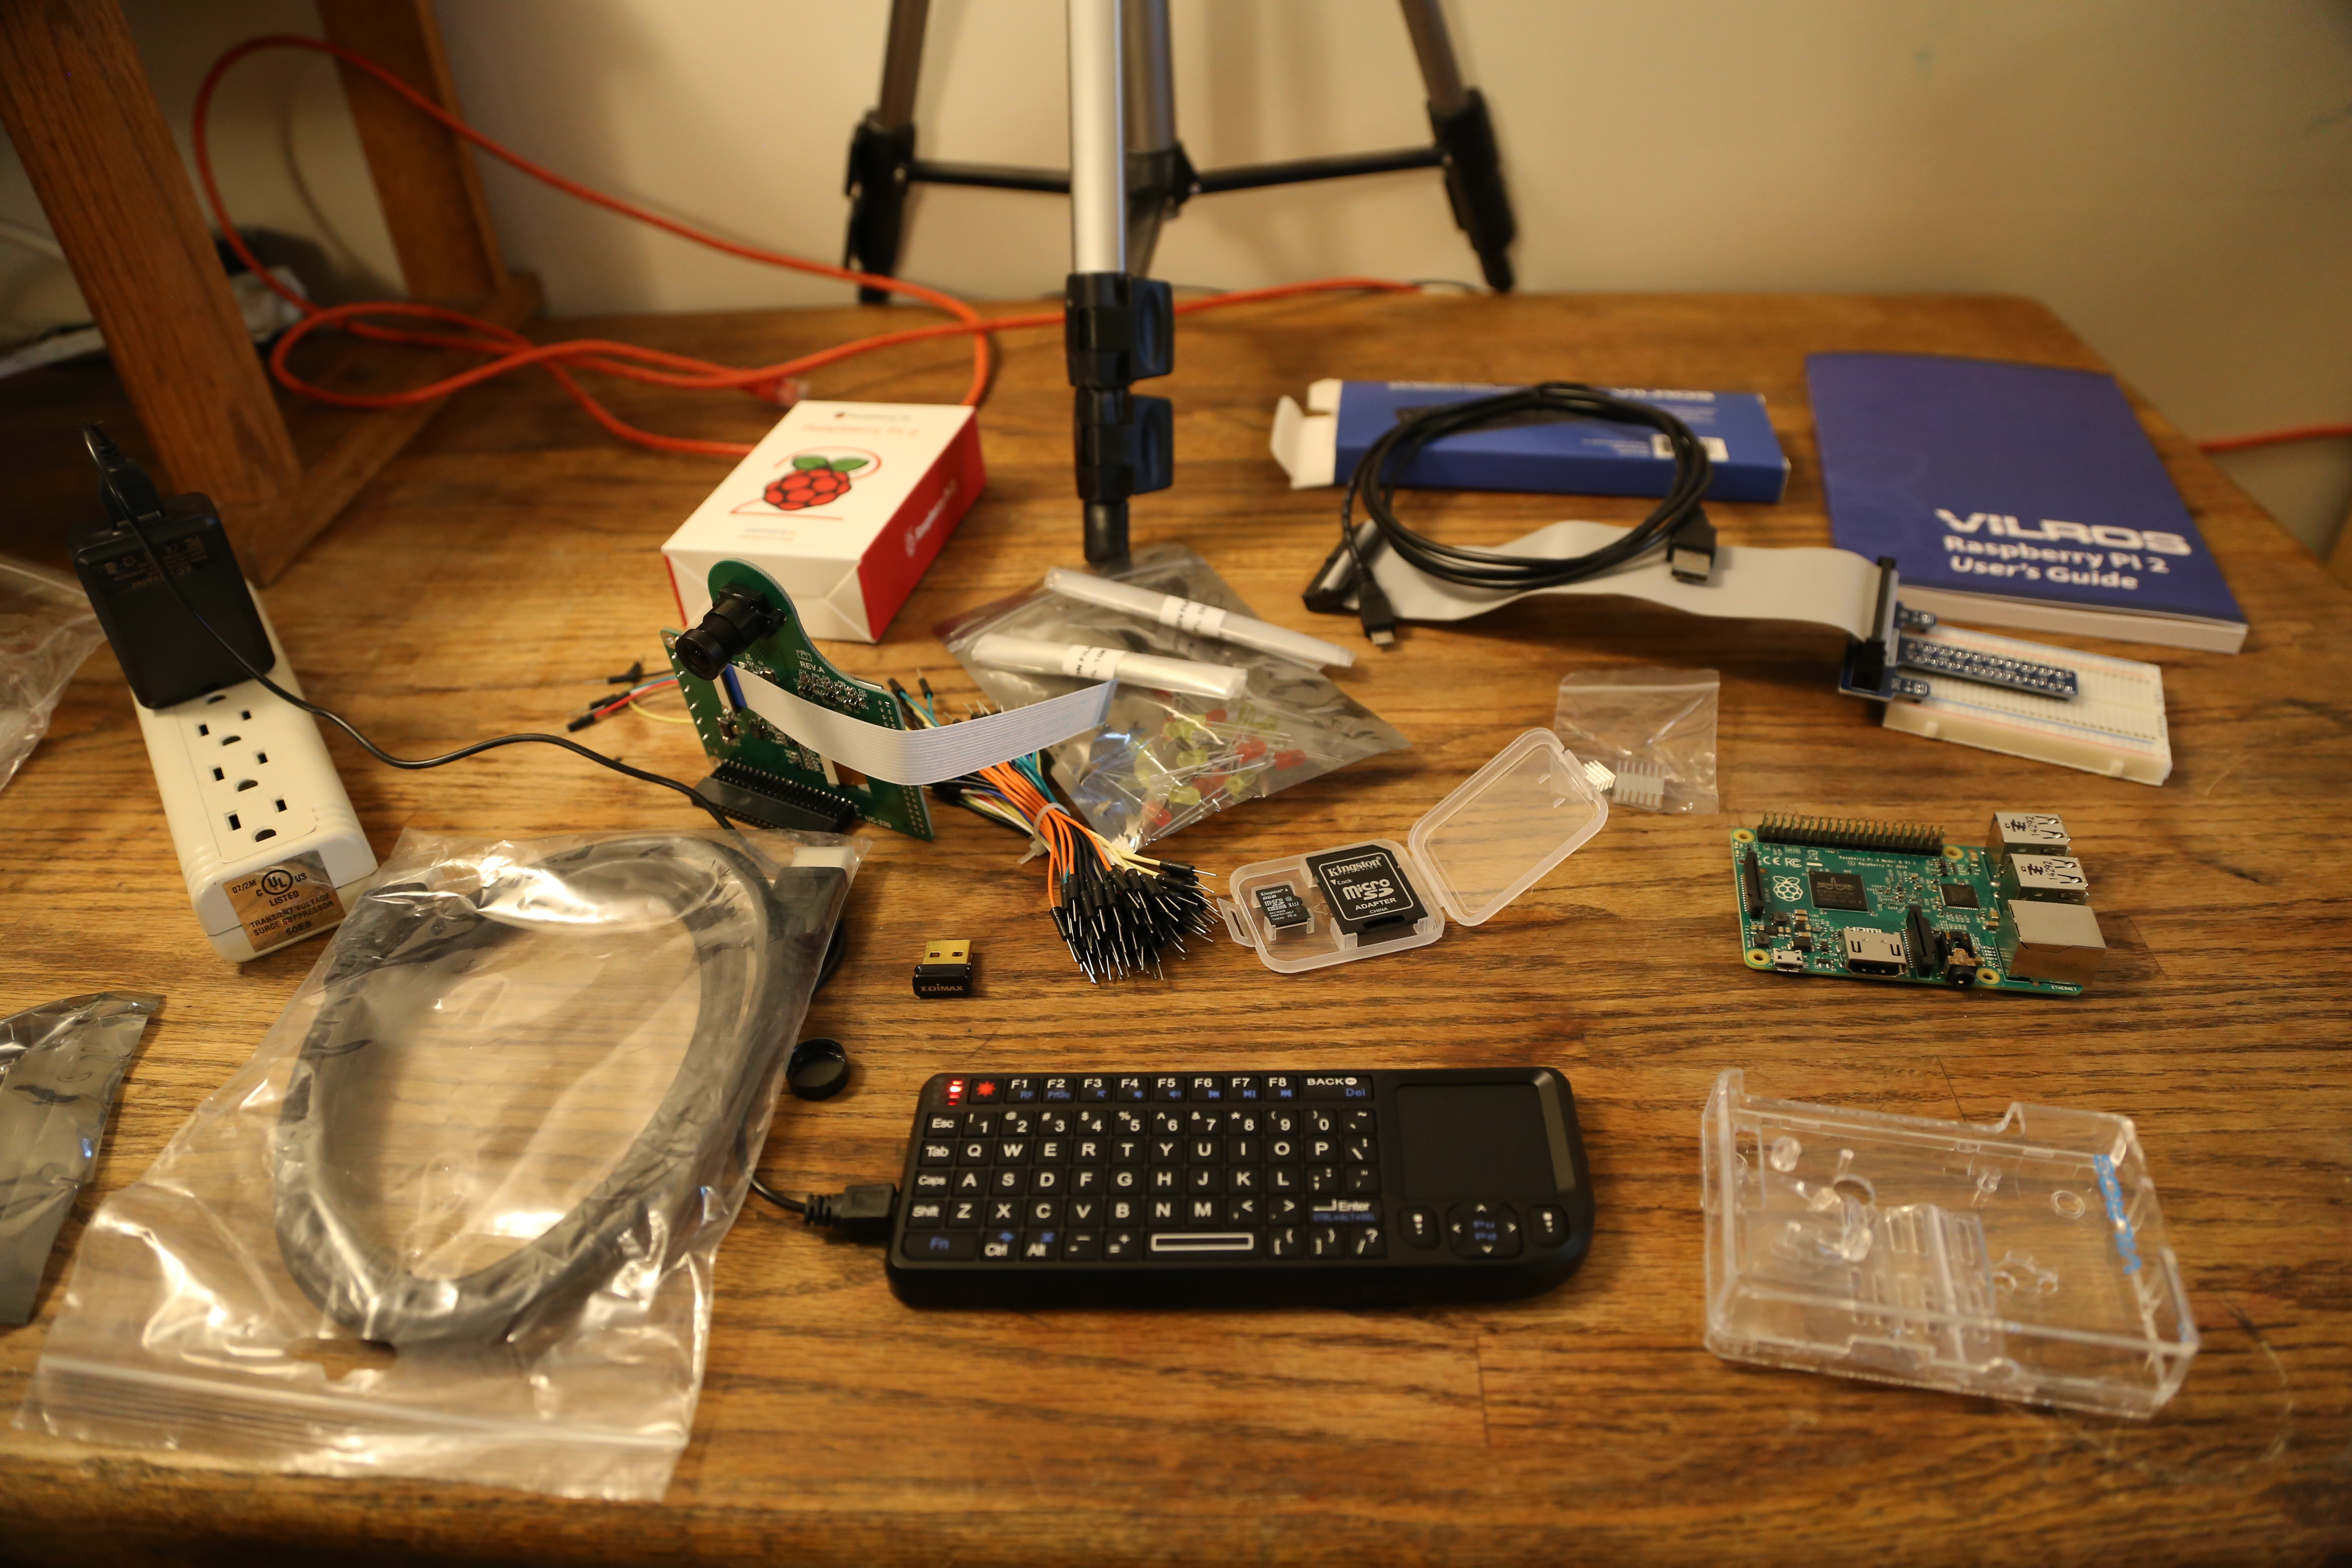
This is a comprehensive Raspberry Pi starter kit. It has everything you need to get started programming, creating and playing with the Raspberry Pi. Here’s a rundown on the components it comes with and some comments on each:
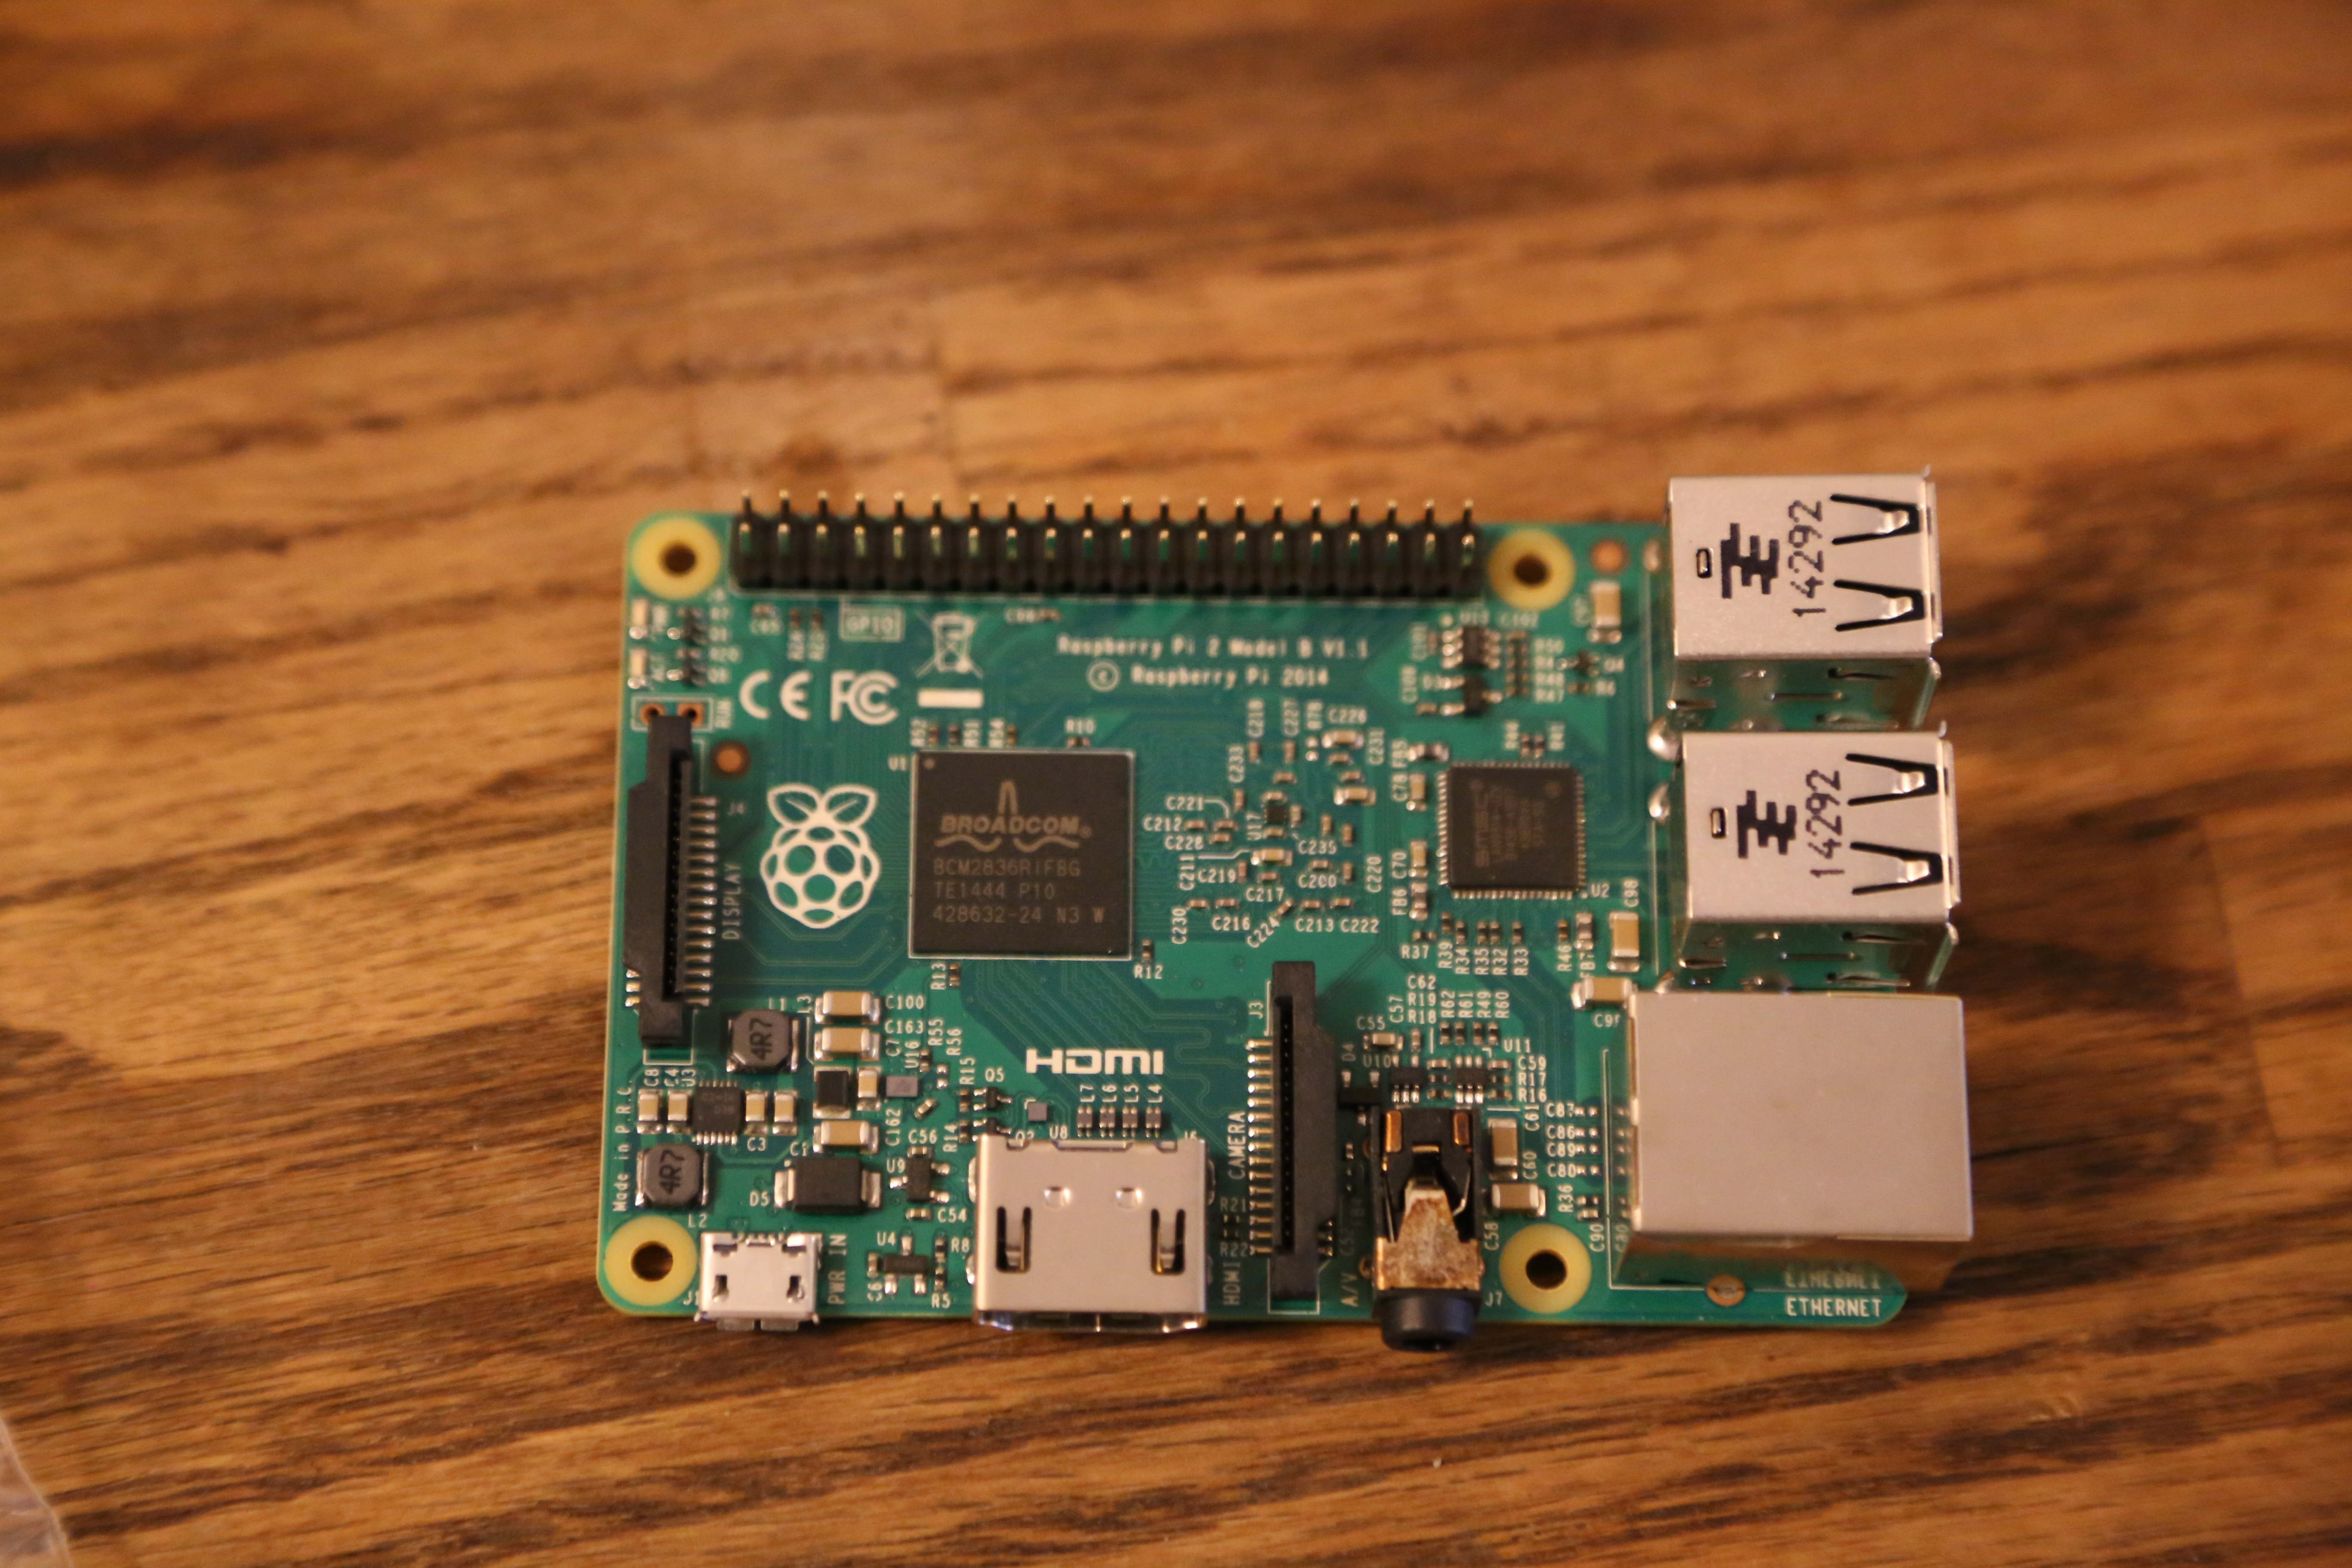
- Raspberry Pi 2: the current fastest, latest version as of this posting.
- Clear Case: nice hard plastic case. The board snaps in and the case snaps together, no tools required. It has cutouts in all the appropriate areas for easy access to parts of the Pi.
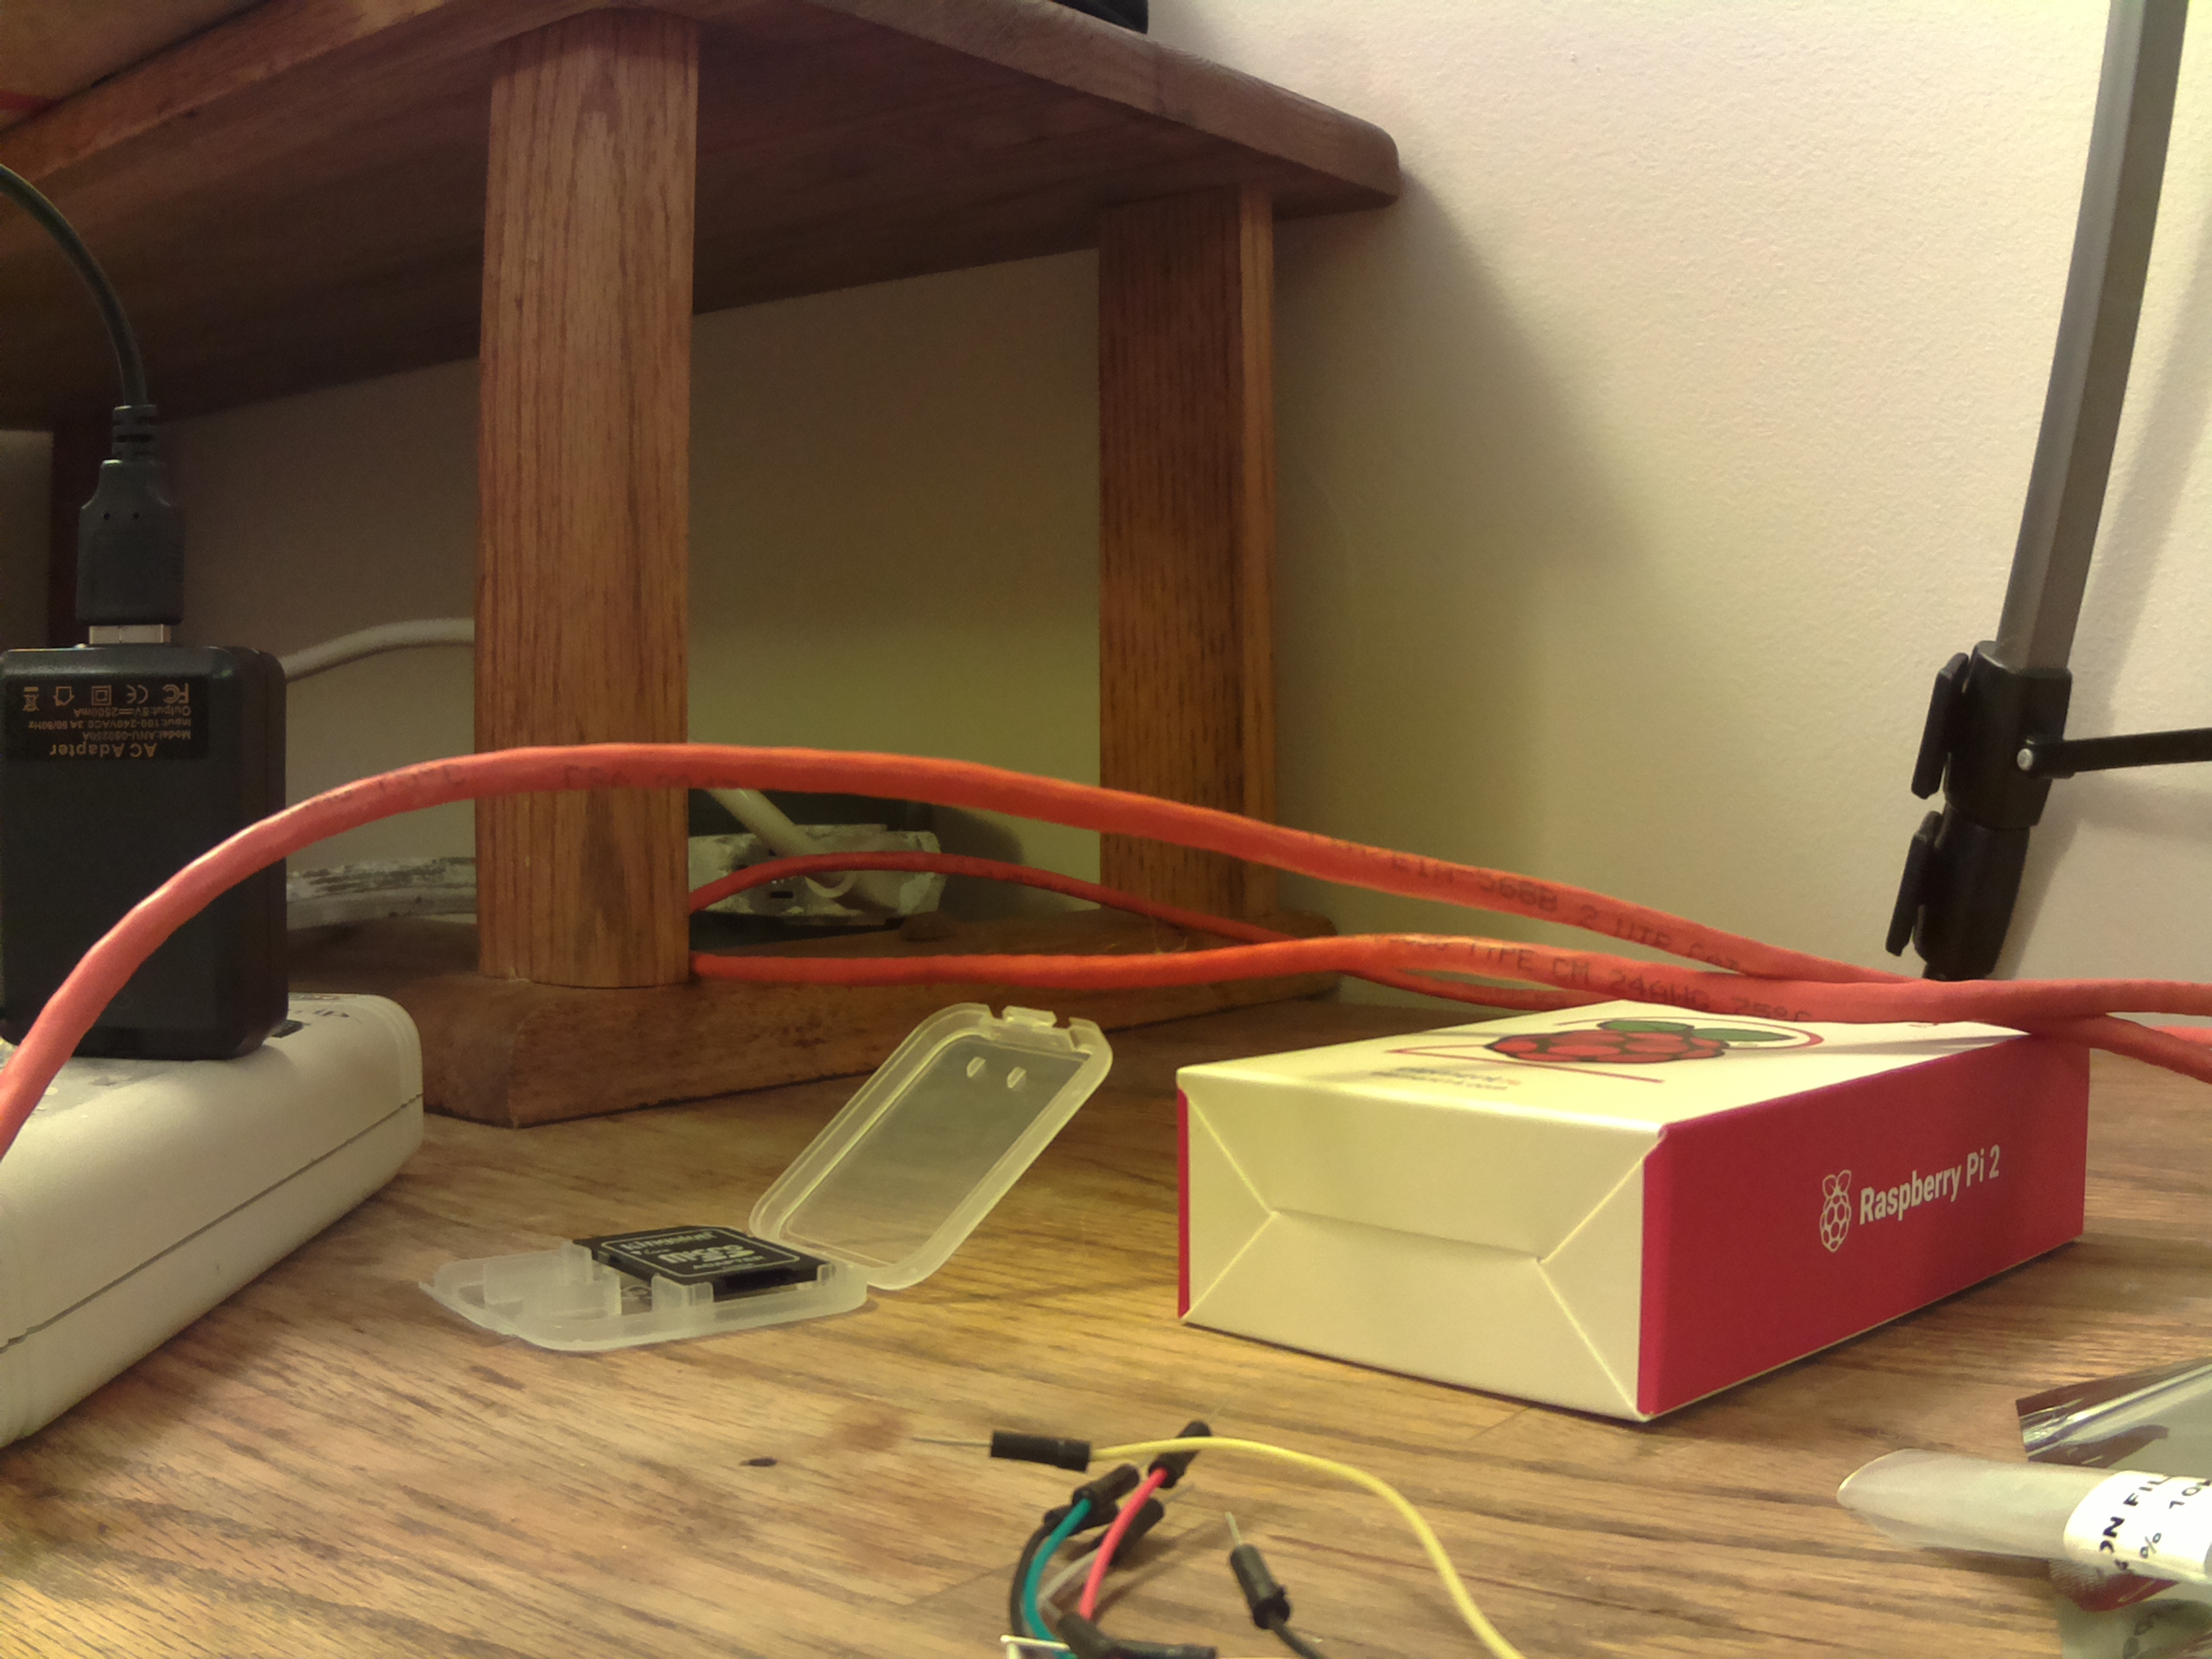
- Kingston Micro SD card and adapter: The nice touch is this has Raspbian pre installed on it so you don’t even have to download the image and flash it from your PC. You can just pop it in and go! Also, this is a fast Class 10 U-1 SD card and from what I’ve read SD card speed has a reasonable impact on Pi performance. No corners cut here!
- Wifi Adapter: works great out of the box.
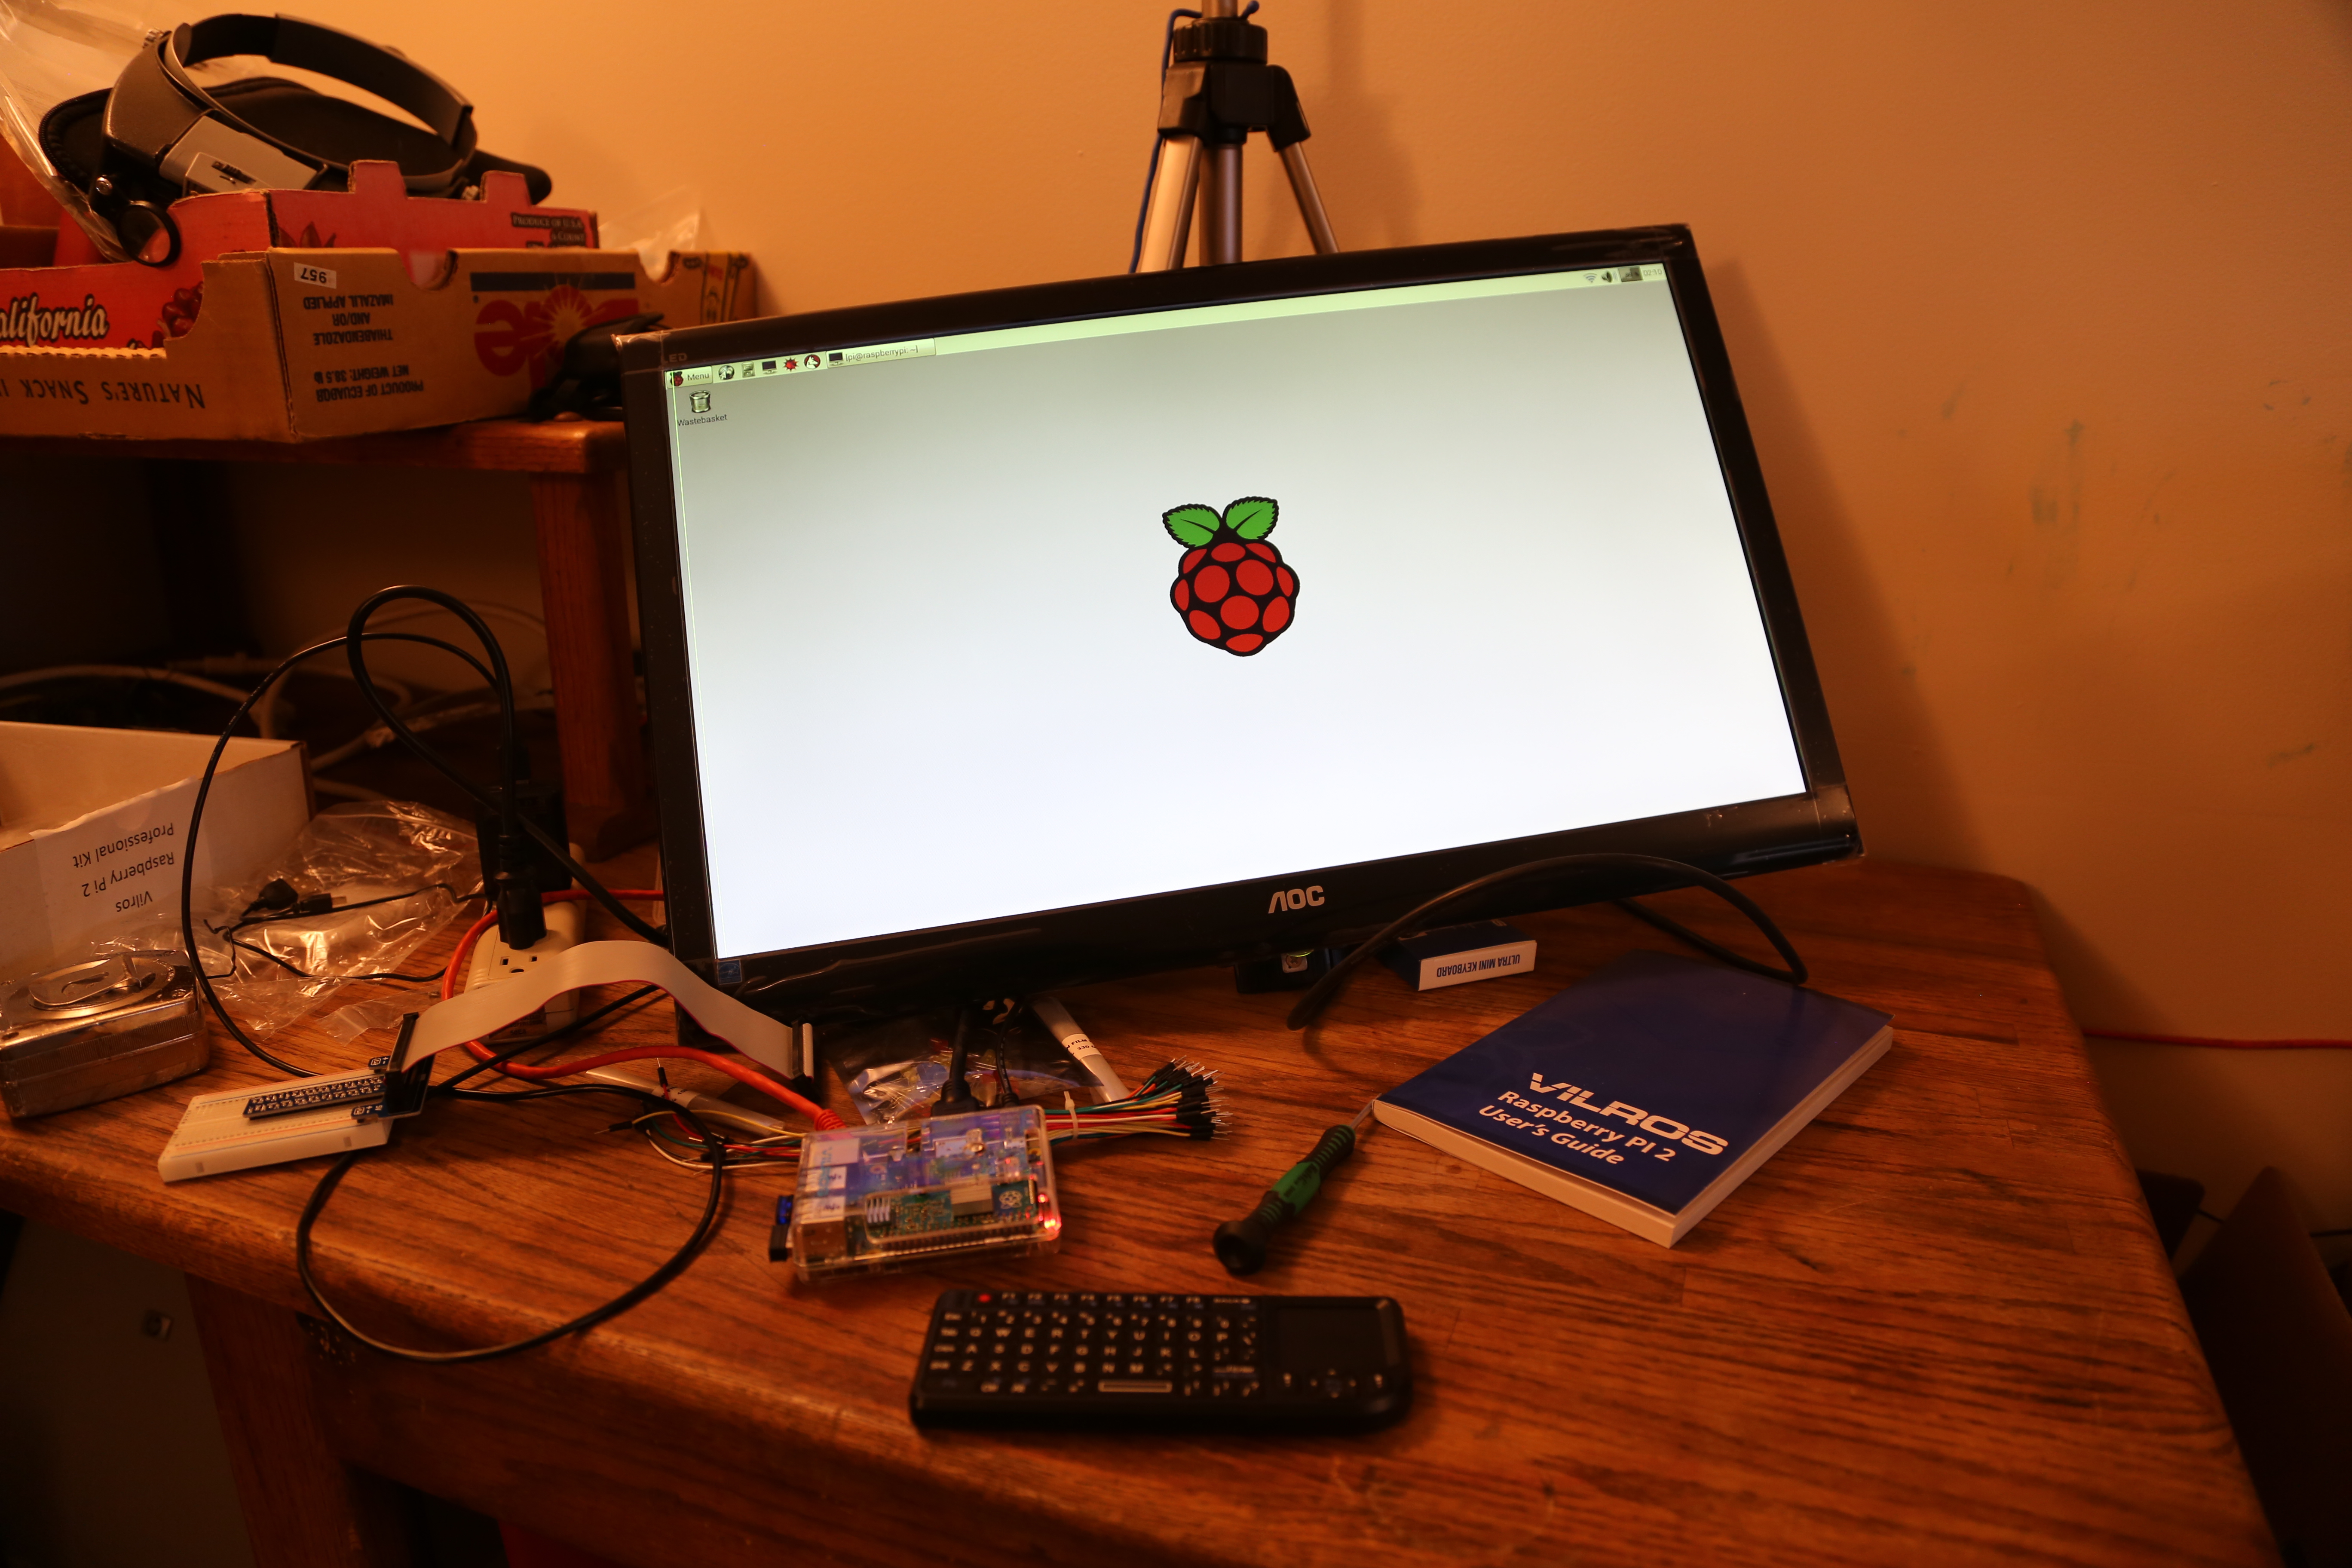
- Wireless Keyboard with Trackpad: the USB dongle is kind of a pain to get out of the side compartment (I had to pry it with a screw driver), but you really only need to get it out once so not a big deal. I wish it charged with a micro usb cable instead of mini usb, but at least it is provided. The keys are backlit and have a decent click when you push the rubber buttons. I didn’t have any issues with typing, but I wouldn’t want to use a tiny keyboard for extended periods of time. You can always use any standard USB keyboard instead if you’re going to be doing a lot of typing. The trackpad works well. Bonus feature: laser pointer!
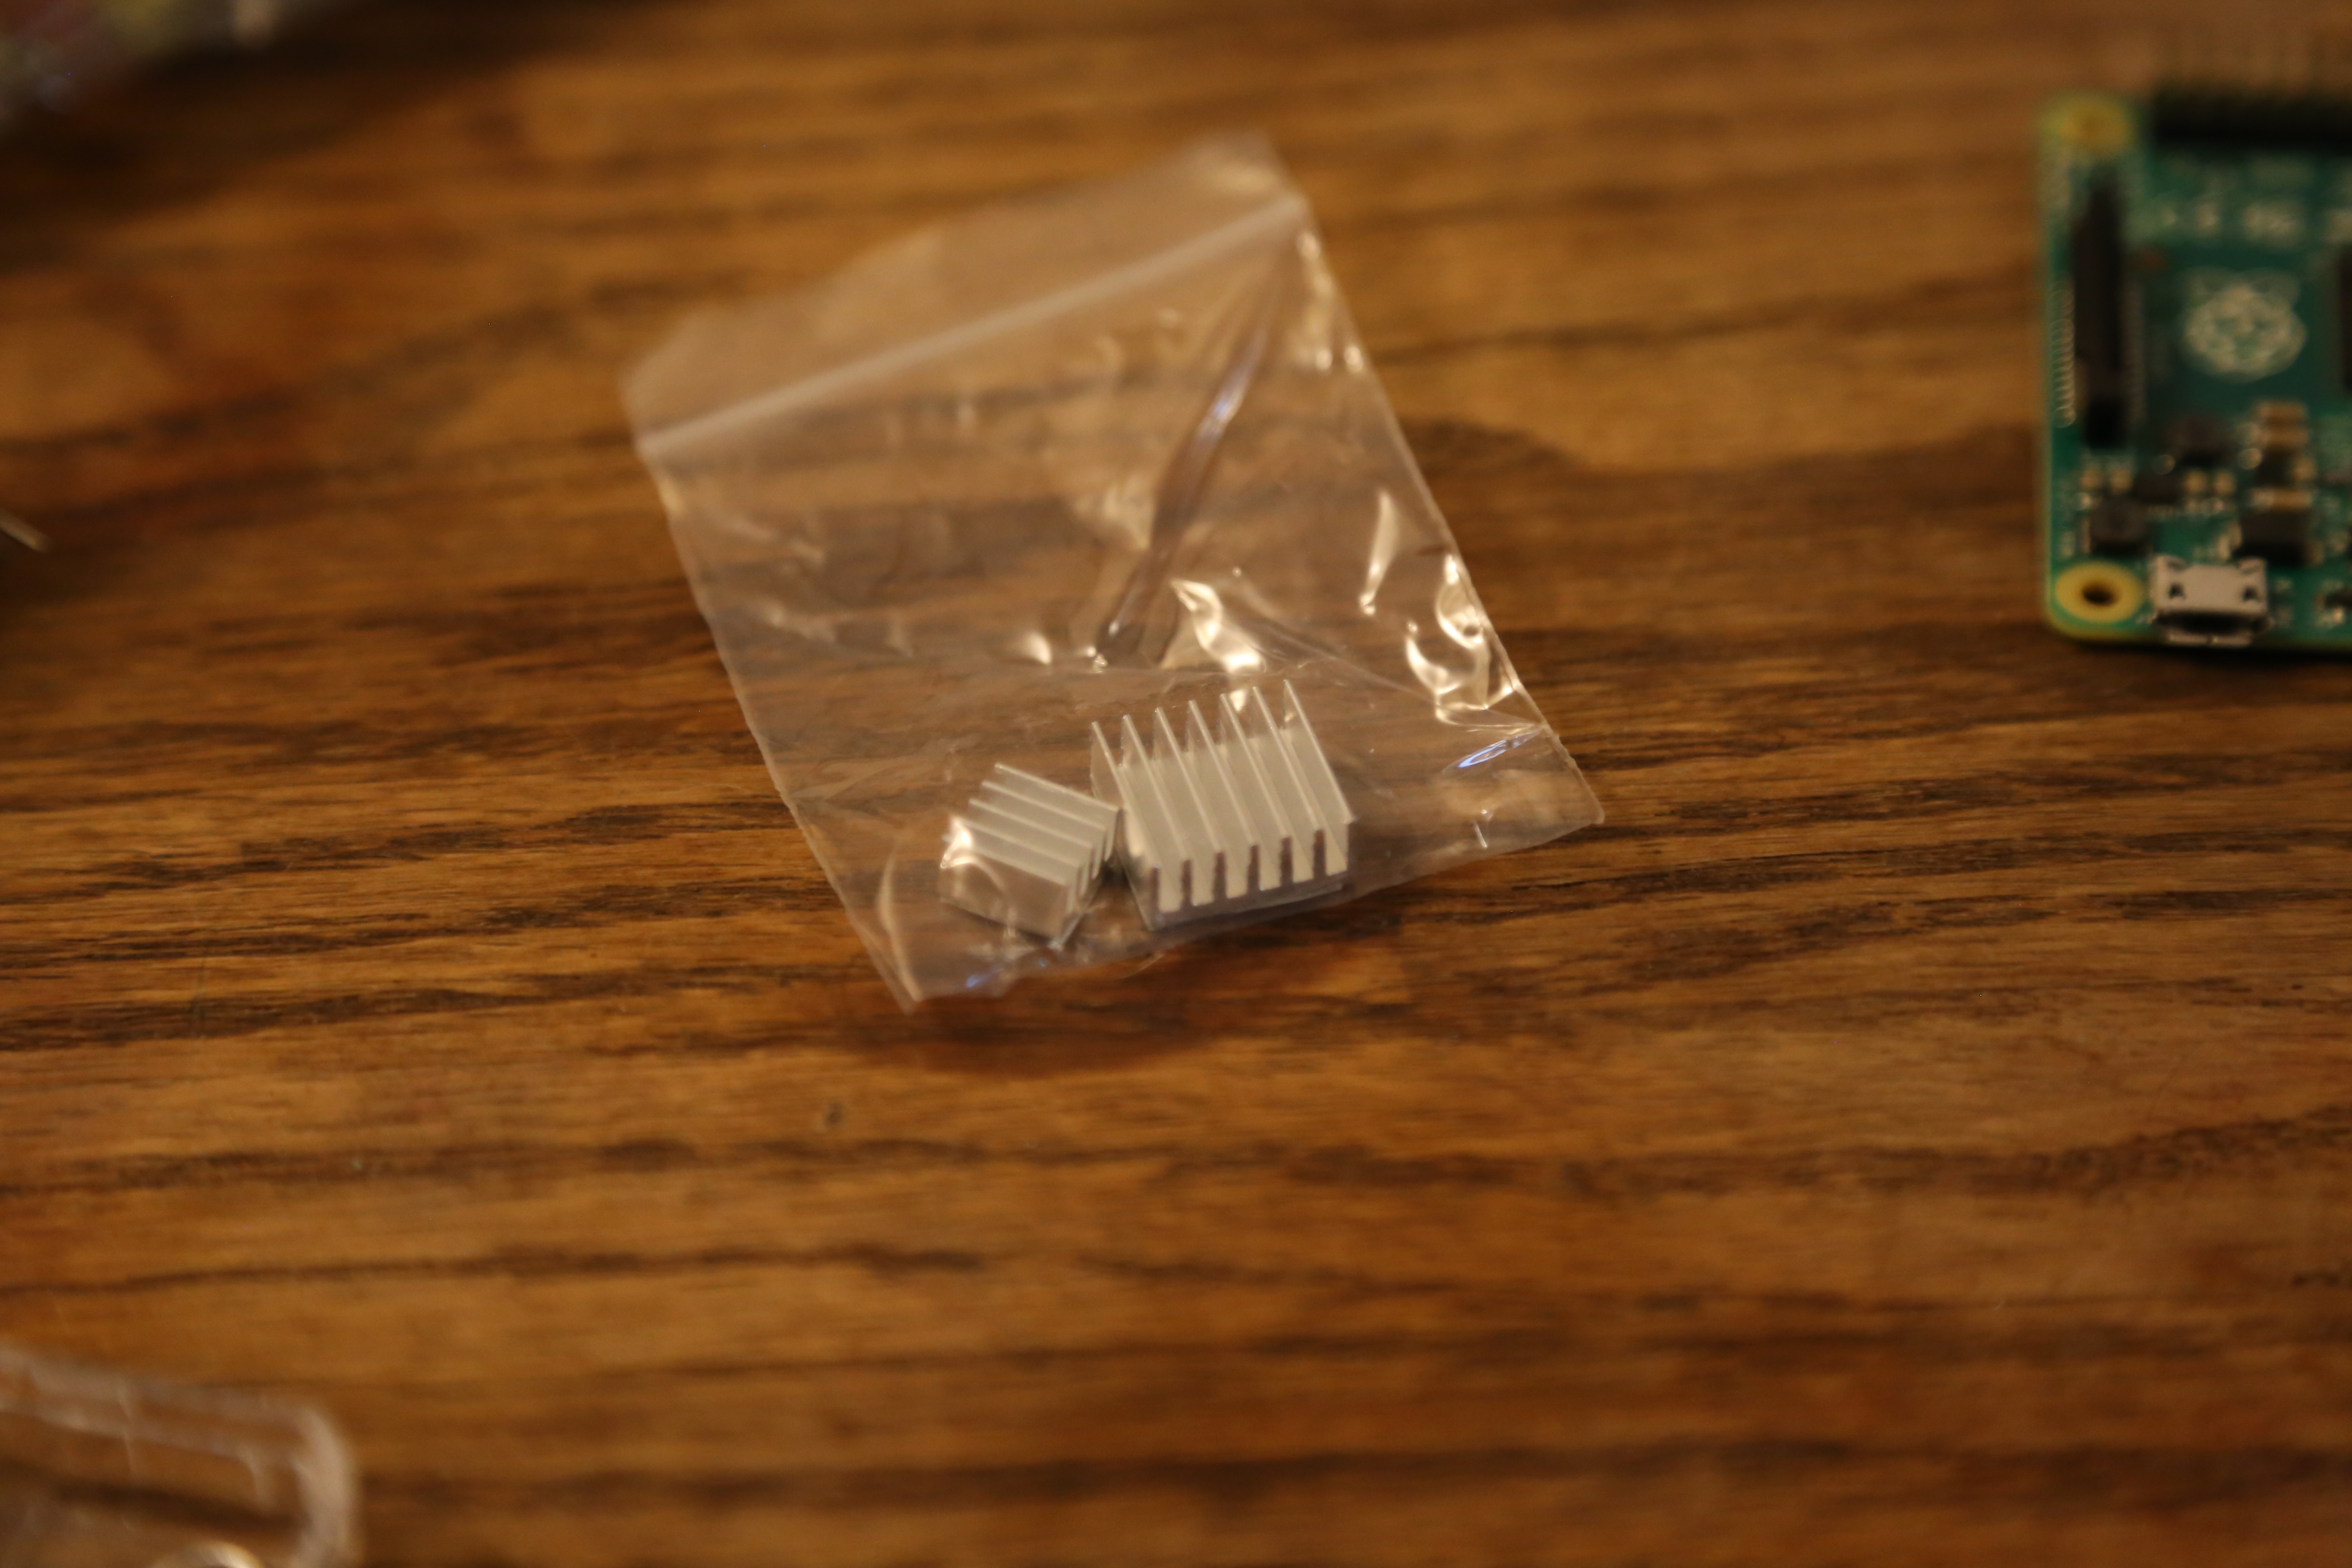
- Heatsinks: 2 self adhesive heatsinks are included to attach to the main CPU and ethernet/power regulator chips. I haven’t had a problem running Pis in the past with no heatsinks, but it certainly can’t hurt and will probably extend the life of the electronics.
- RaspCam Camera and 2.8″ Touchscreen LCD module: see section below on this. Pretty Cool!
- Electronics Prototyping components: see section below
- Vilros Raspberry Pi 2 User Guide: this is a nice starter guide to the Pi, it’s a comprehensive guide on getting started, configuring and a few starter projects.
- Power adapter: nice beefy 2.5A USB power ensures no low voltage conditions will happen.
- Cables: HDMI, MicroUSB: about 6ft each
Getting Started
Snap the Pi into the bottom half of the case (if you’re going to use the camera/lcd module I recommend leaving the top off). Insert the microSD card into the SD slot on the bottom of the board and make sure it clicks in. If you’re going to use a wired network cable plug that in, otherwise insert the USB Wifi adapter (the little thing that says “Edimax” on it) in one of the USB ports. Insert the keyboard dongle to another USB port. Attach the HDMI cable to a monitor or TV (not included). Last, plug in the power cable. Watch as Raspbian starts up!
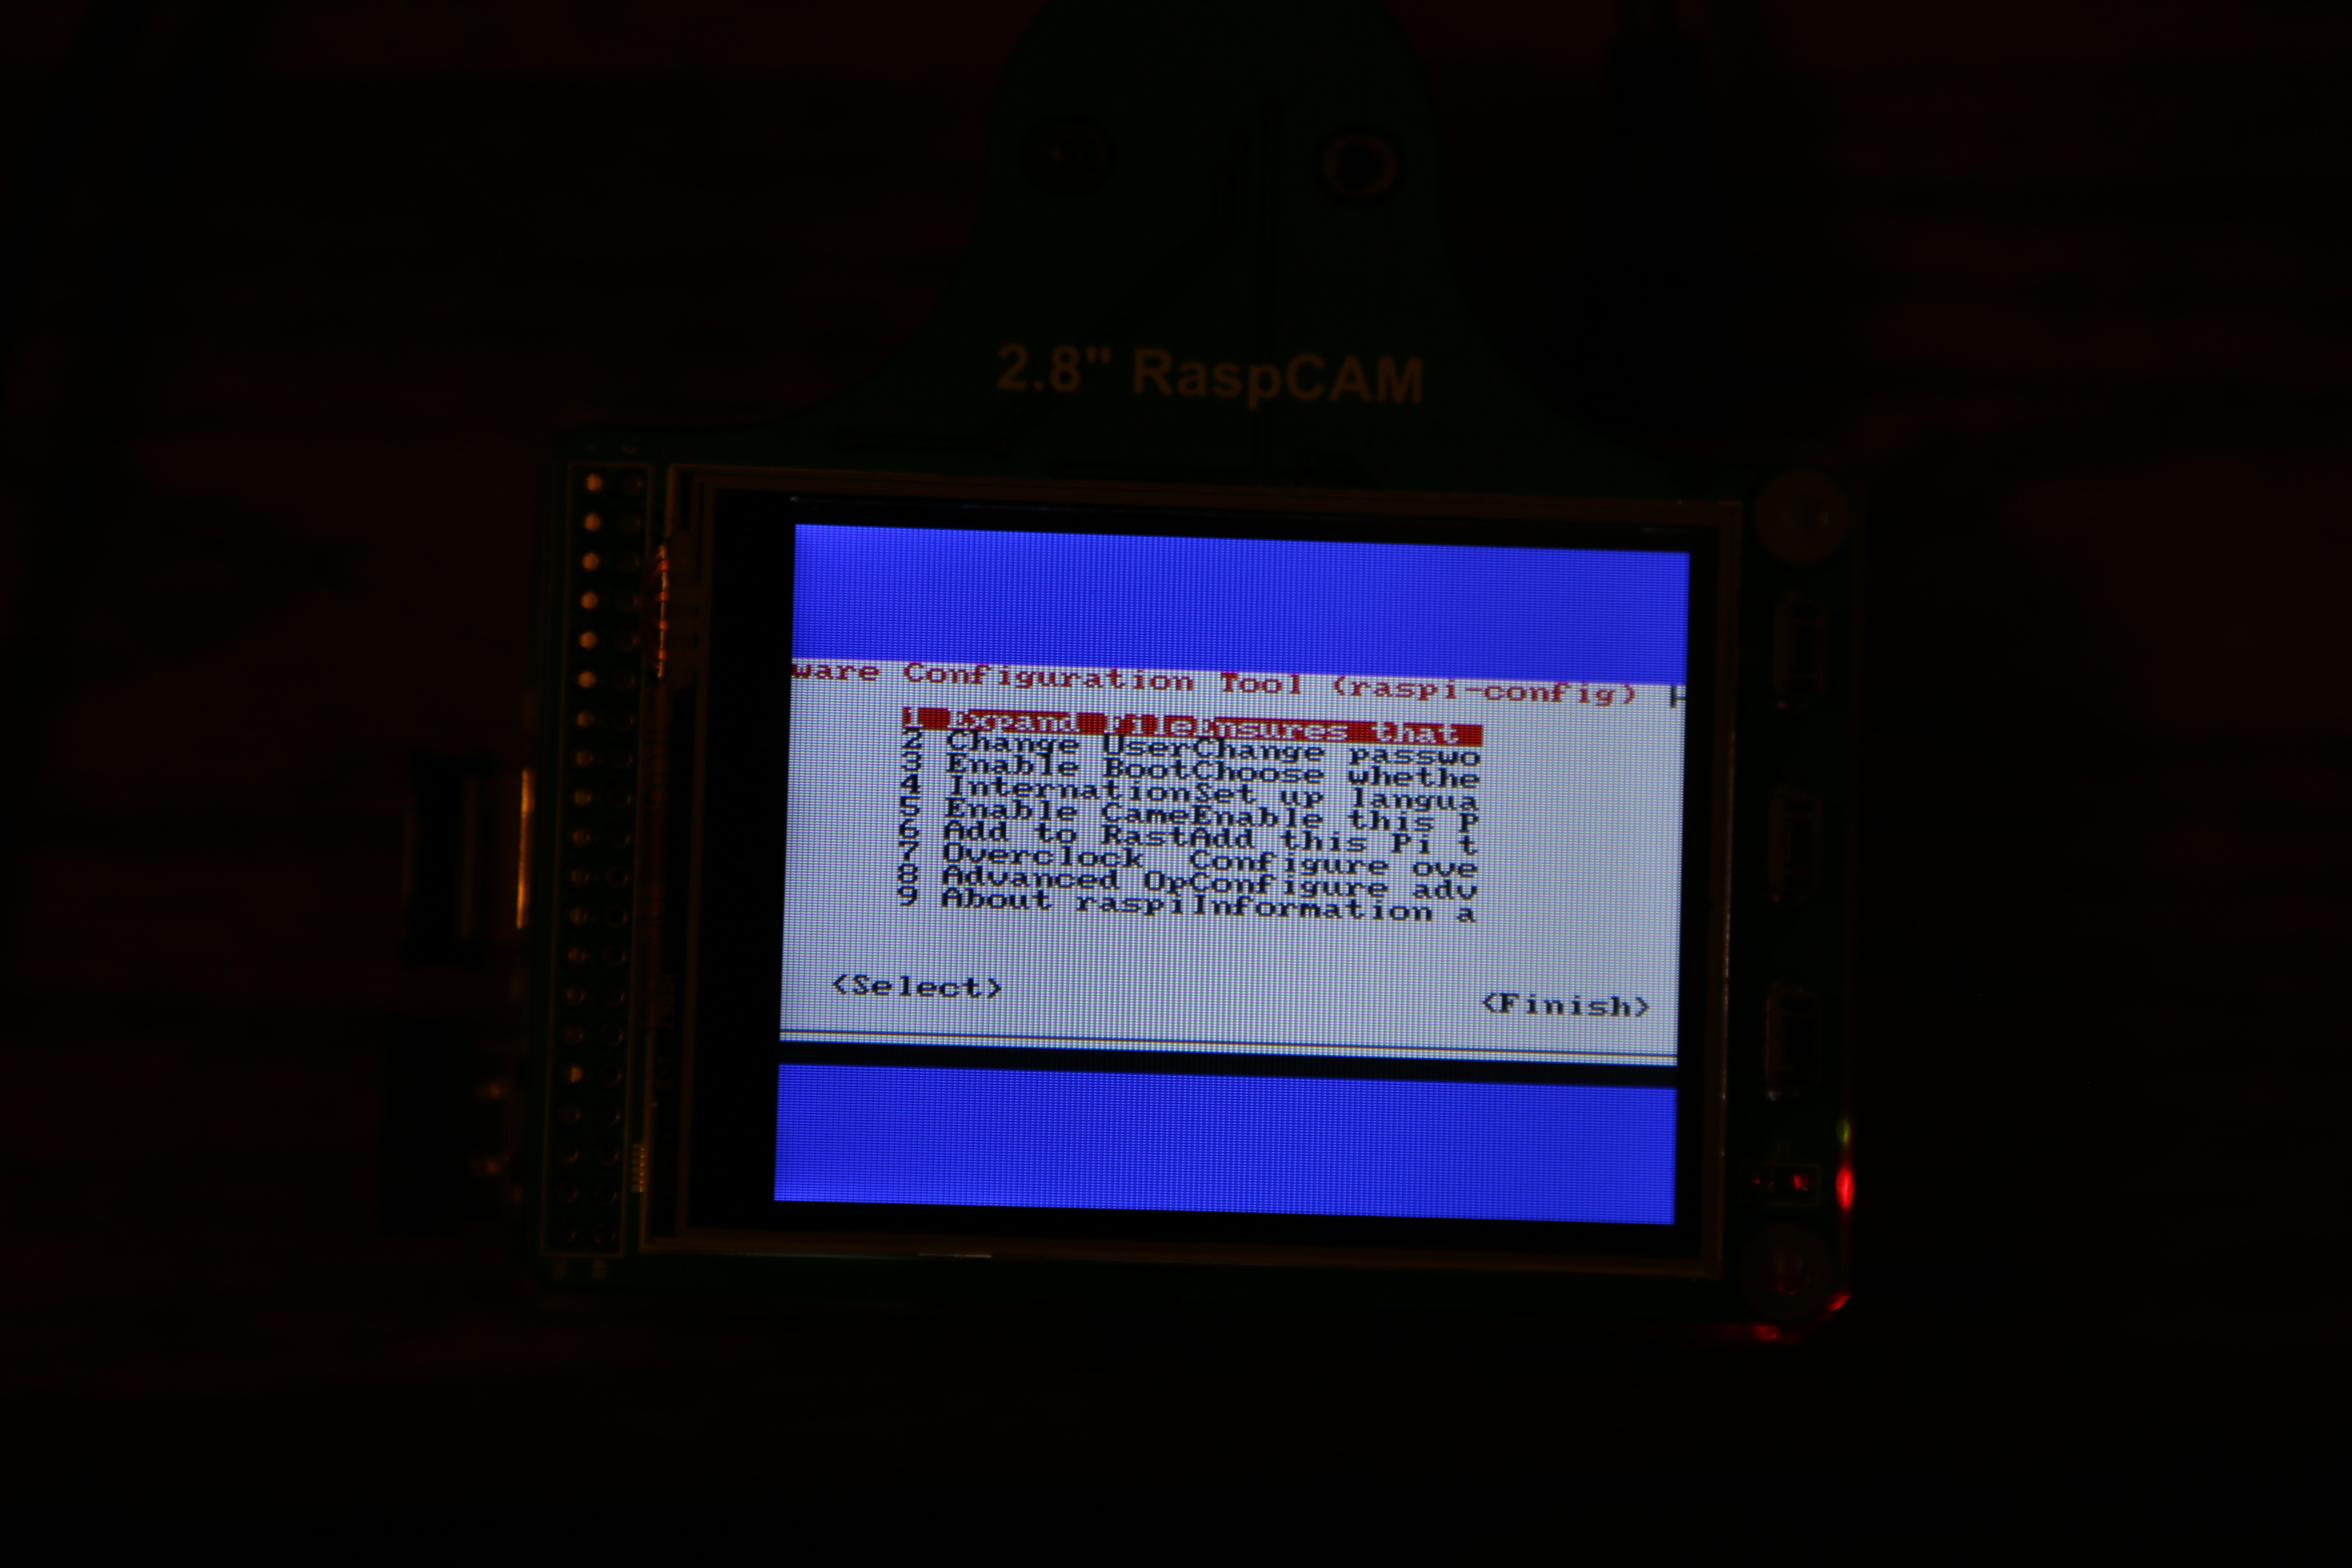
The first screen you’ll see is the raspi-config console application. You should go through each of the menu options in order to ensure your pi is properly configured. It will reboot at the end.
Now you can log in to your Pi with the user “pi” and the password you set in the config application. If you’re using wifi you’ll need to configure your access point by editing the file /etc/wpa_supplicant/wpa_supplicant.conf to add lines like this to the end of the file (how to edit files in linux is beyond the scope of this, google is your friend):
network={
ssid=”your access point id”
psk=”your wifi password”
}
The easiest way to get it to connect after doing that is just to reboot, but you can do it with
sudo ifdown wlan0
sudo ifup wlan0
Congratulations! You now have a working raspberry pi running linux and it has access to the internet! At this time I recommend running “sudo apt-get update && sudo apt-get upgrade” to update all the installed packages.
RaspCam Module
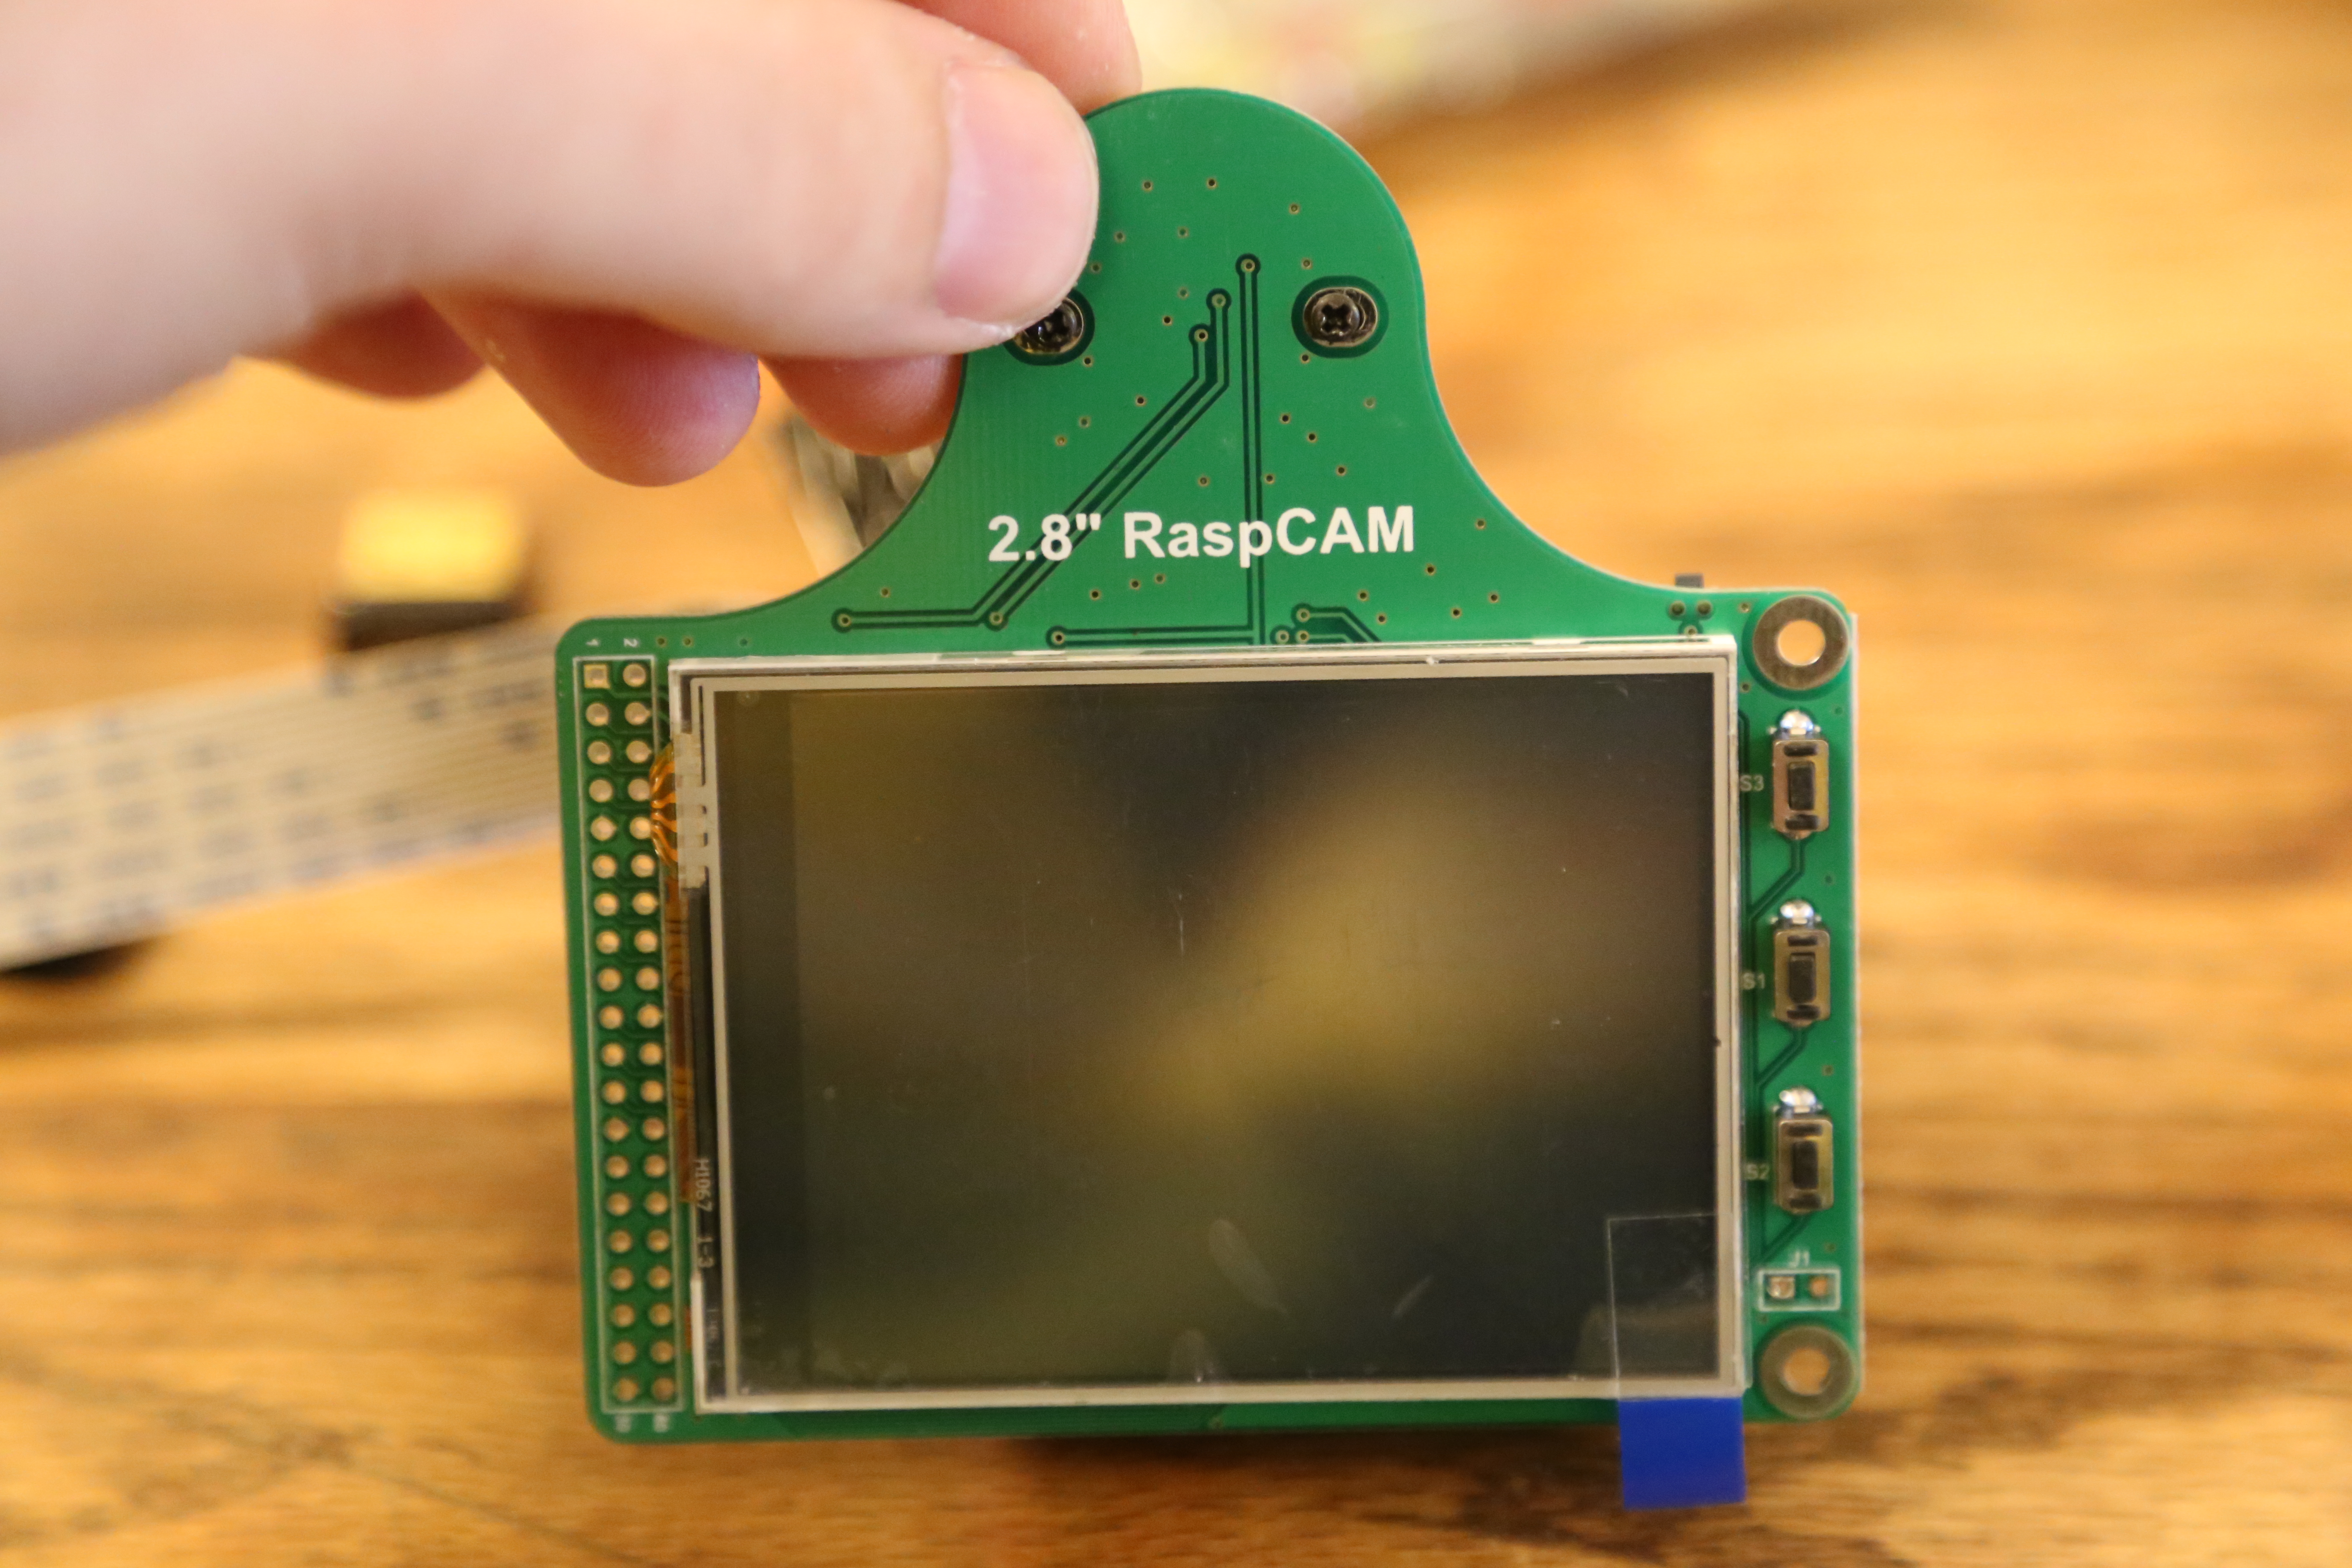
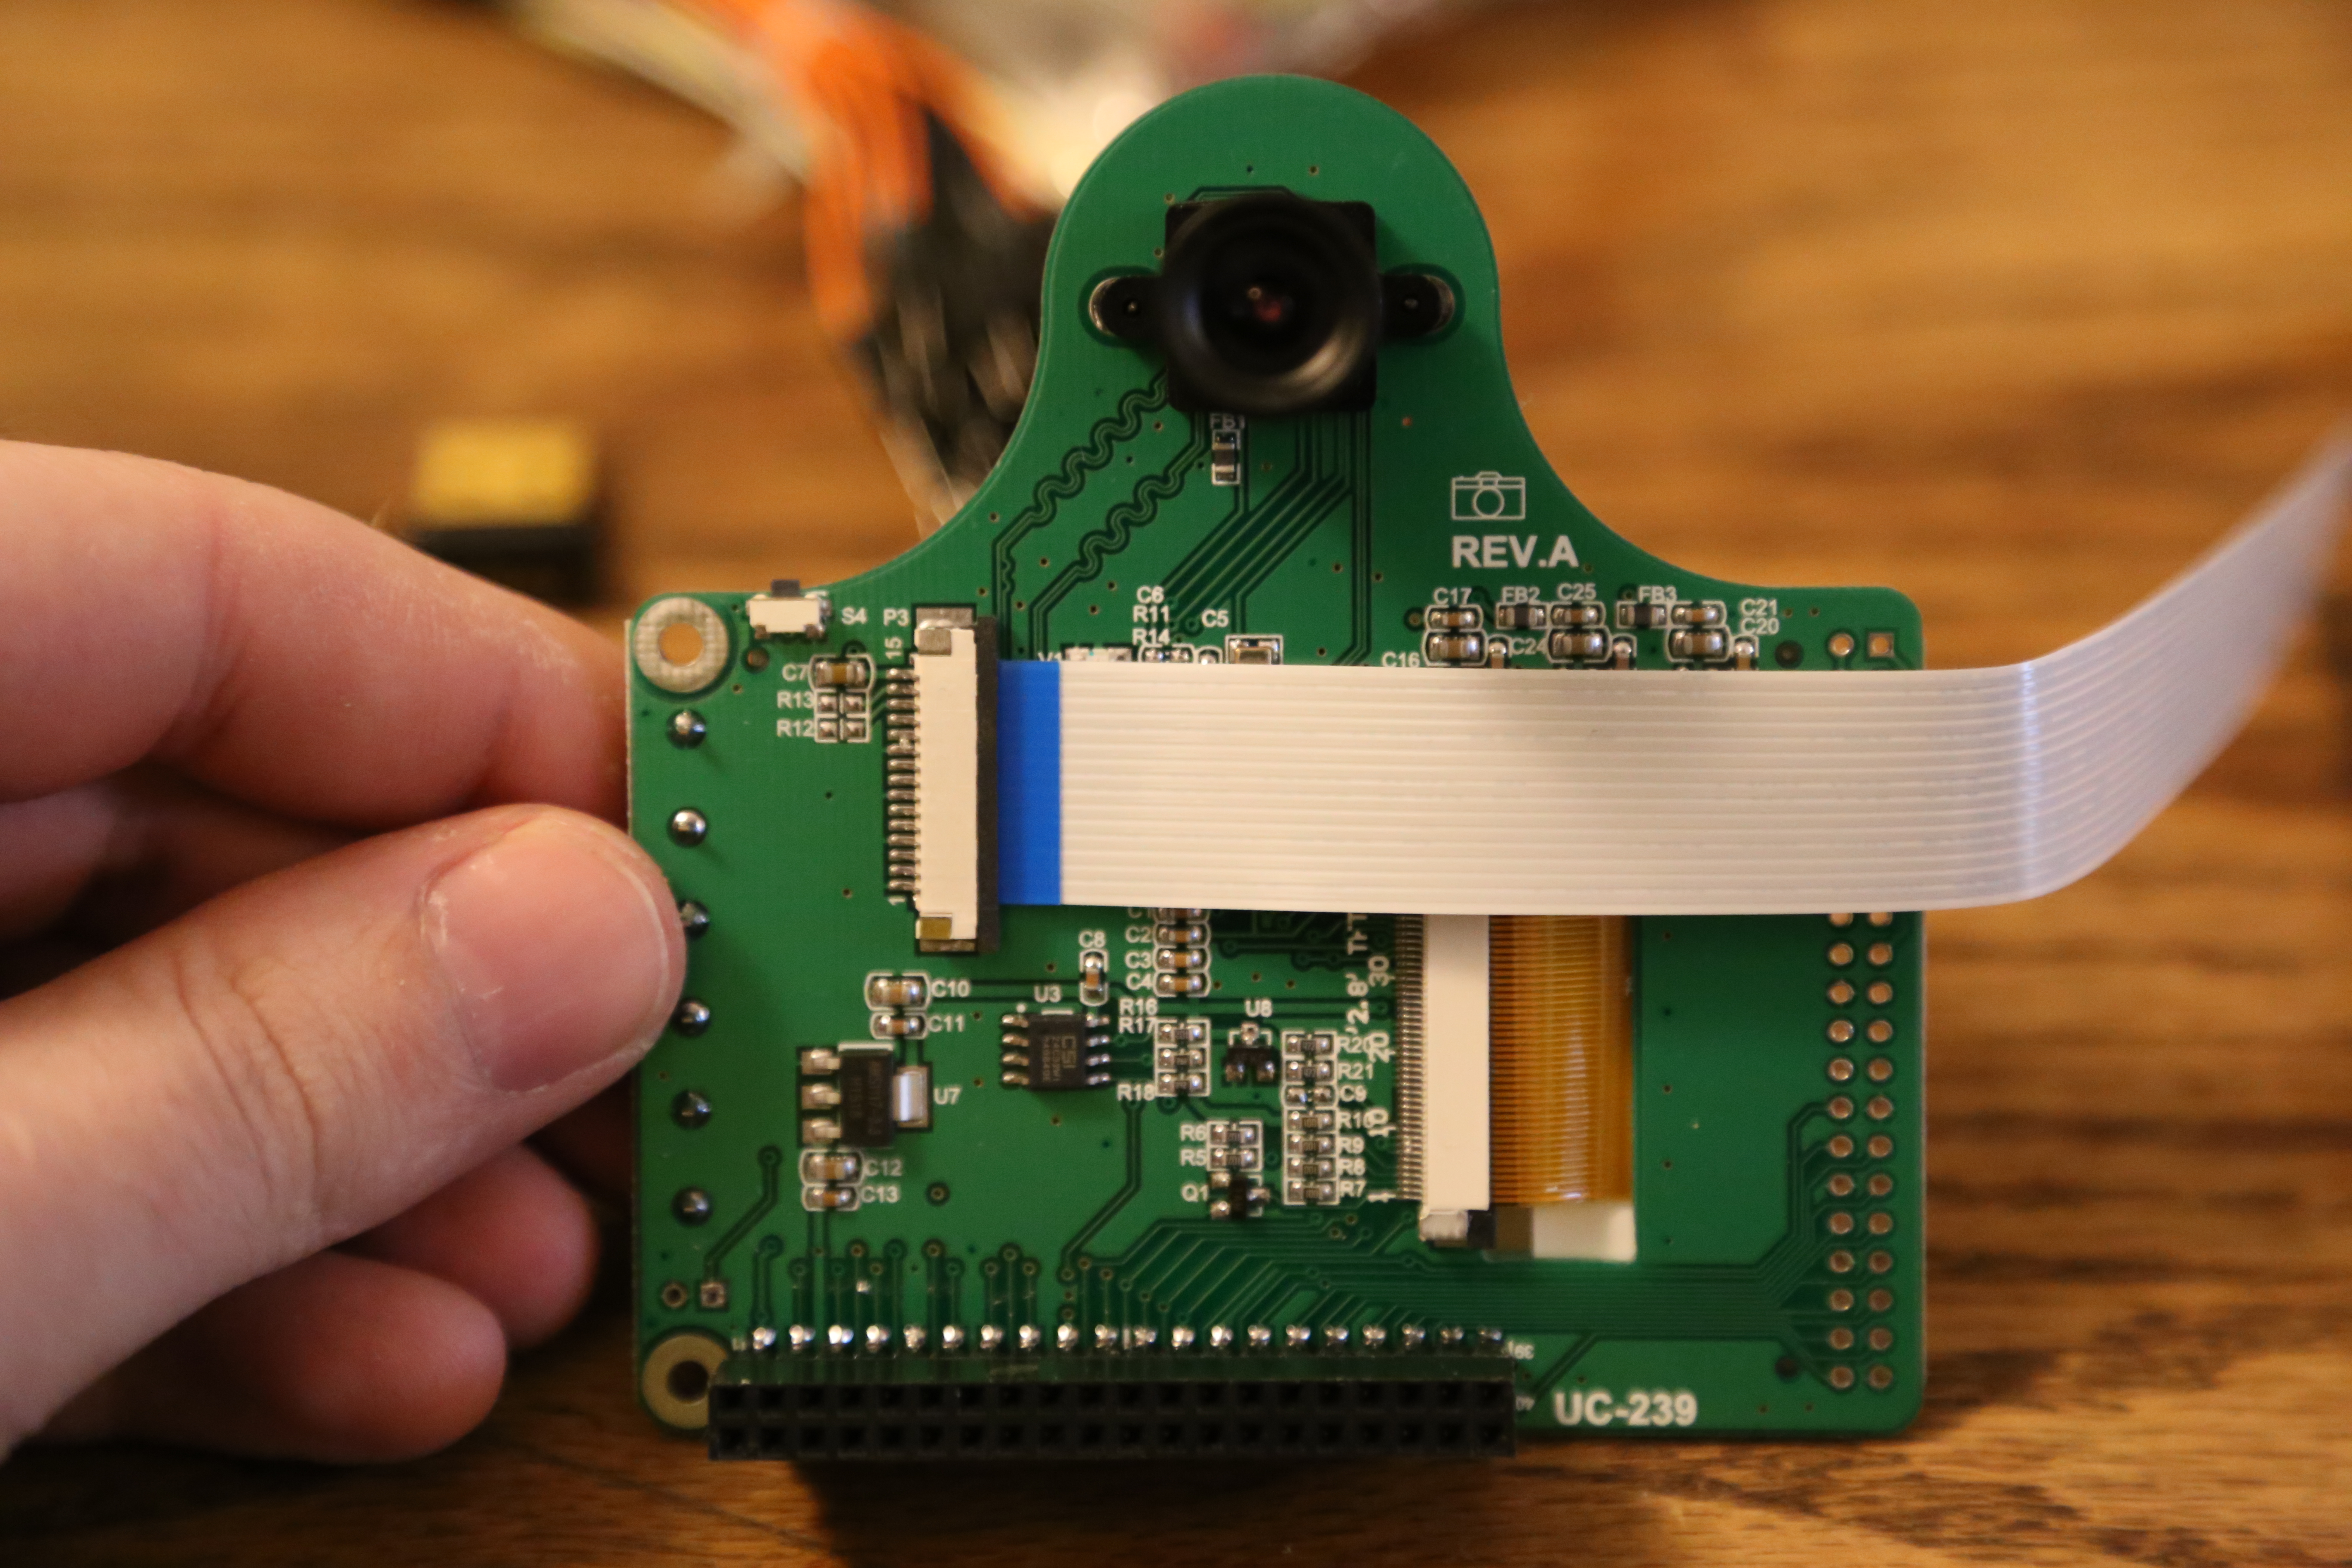
This neat little add on board turns the Pi into a point and shoot camera, complete with touchscreen. Make sure the Pi is unplugged when you attach it. the ribbon cable goes into the ZIF socket in the center of the board, pull up on the little black tab to unlock the socket and insert the ribbon cable with the contacts facing right, then push down on the tab to lock the cable in place. Then push the pin headers on the Pi into the socket sticking out the bottom of the camera module. All the display output will be on the touchscreen instead of your monitor so you can just disconnect the HDMI cable if you want. Because of that you may want to install SSH on your pi before doing this (sudo apt-get install openssh-server). Plug power back into your Pi and let it boot up.
Install some libraries that are required for the camera:
sudo apt-get install python-pip
sudo pip install picamera==0.8
wget https://github.com/adafruit/adafruit-pi-cam/archive/master.zip
unzip master.zip
Now that all that is out of the way we can run the application:
cd adafruit-pi-cam-master/
sudo python cam.py

If everything went as planned you should now see an image of what the camera sees on the touchscreen as well as settings and a button to review pictures you’ve taken. Just tap the center of the screen to take pictures! Here are some pictures I took with the camera… not the best quality but still pretty cool.
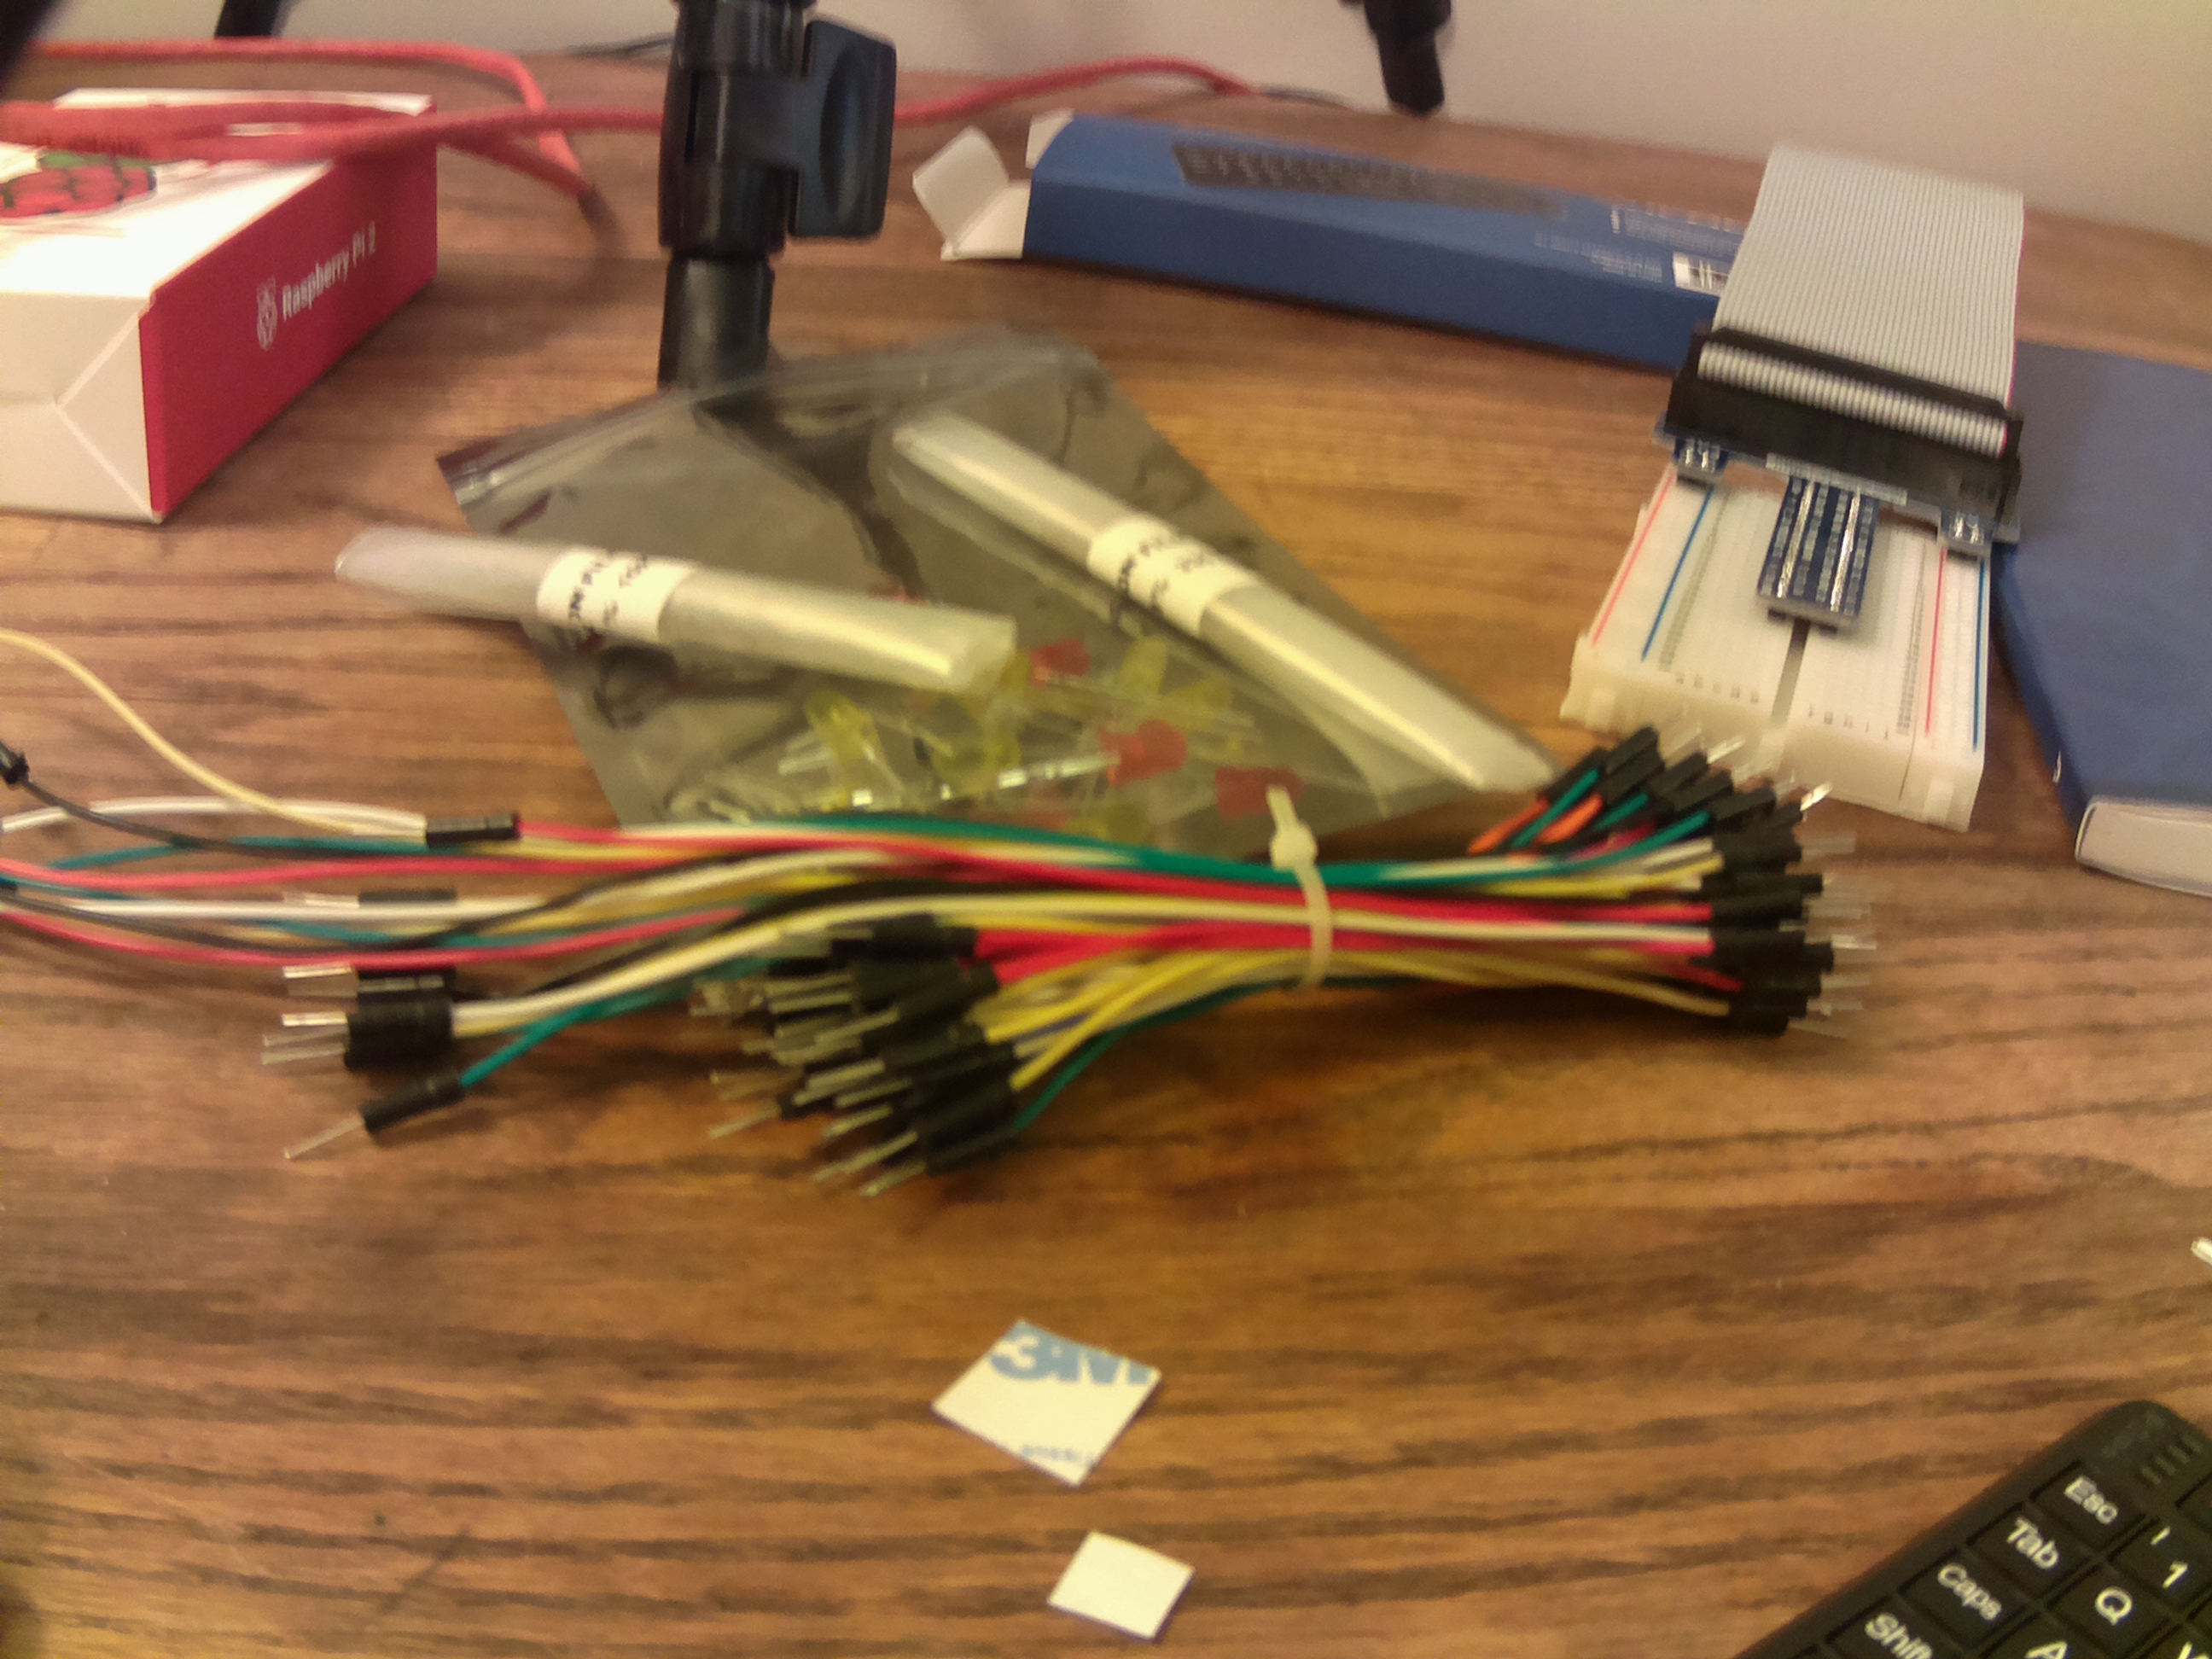
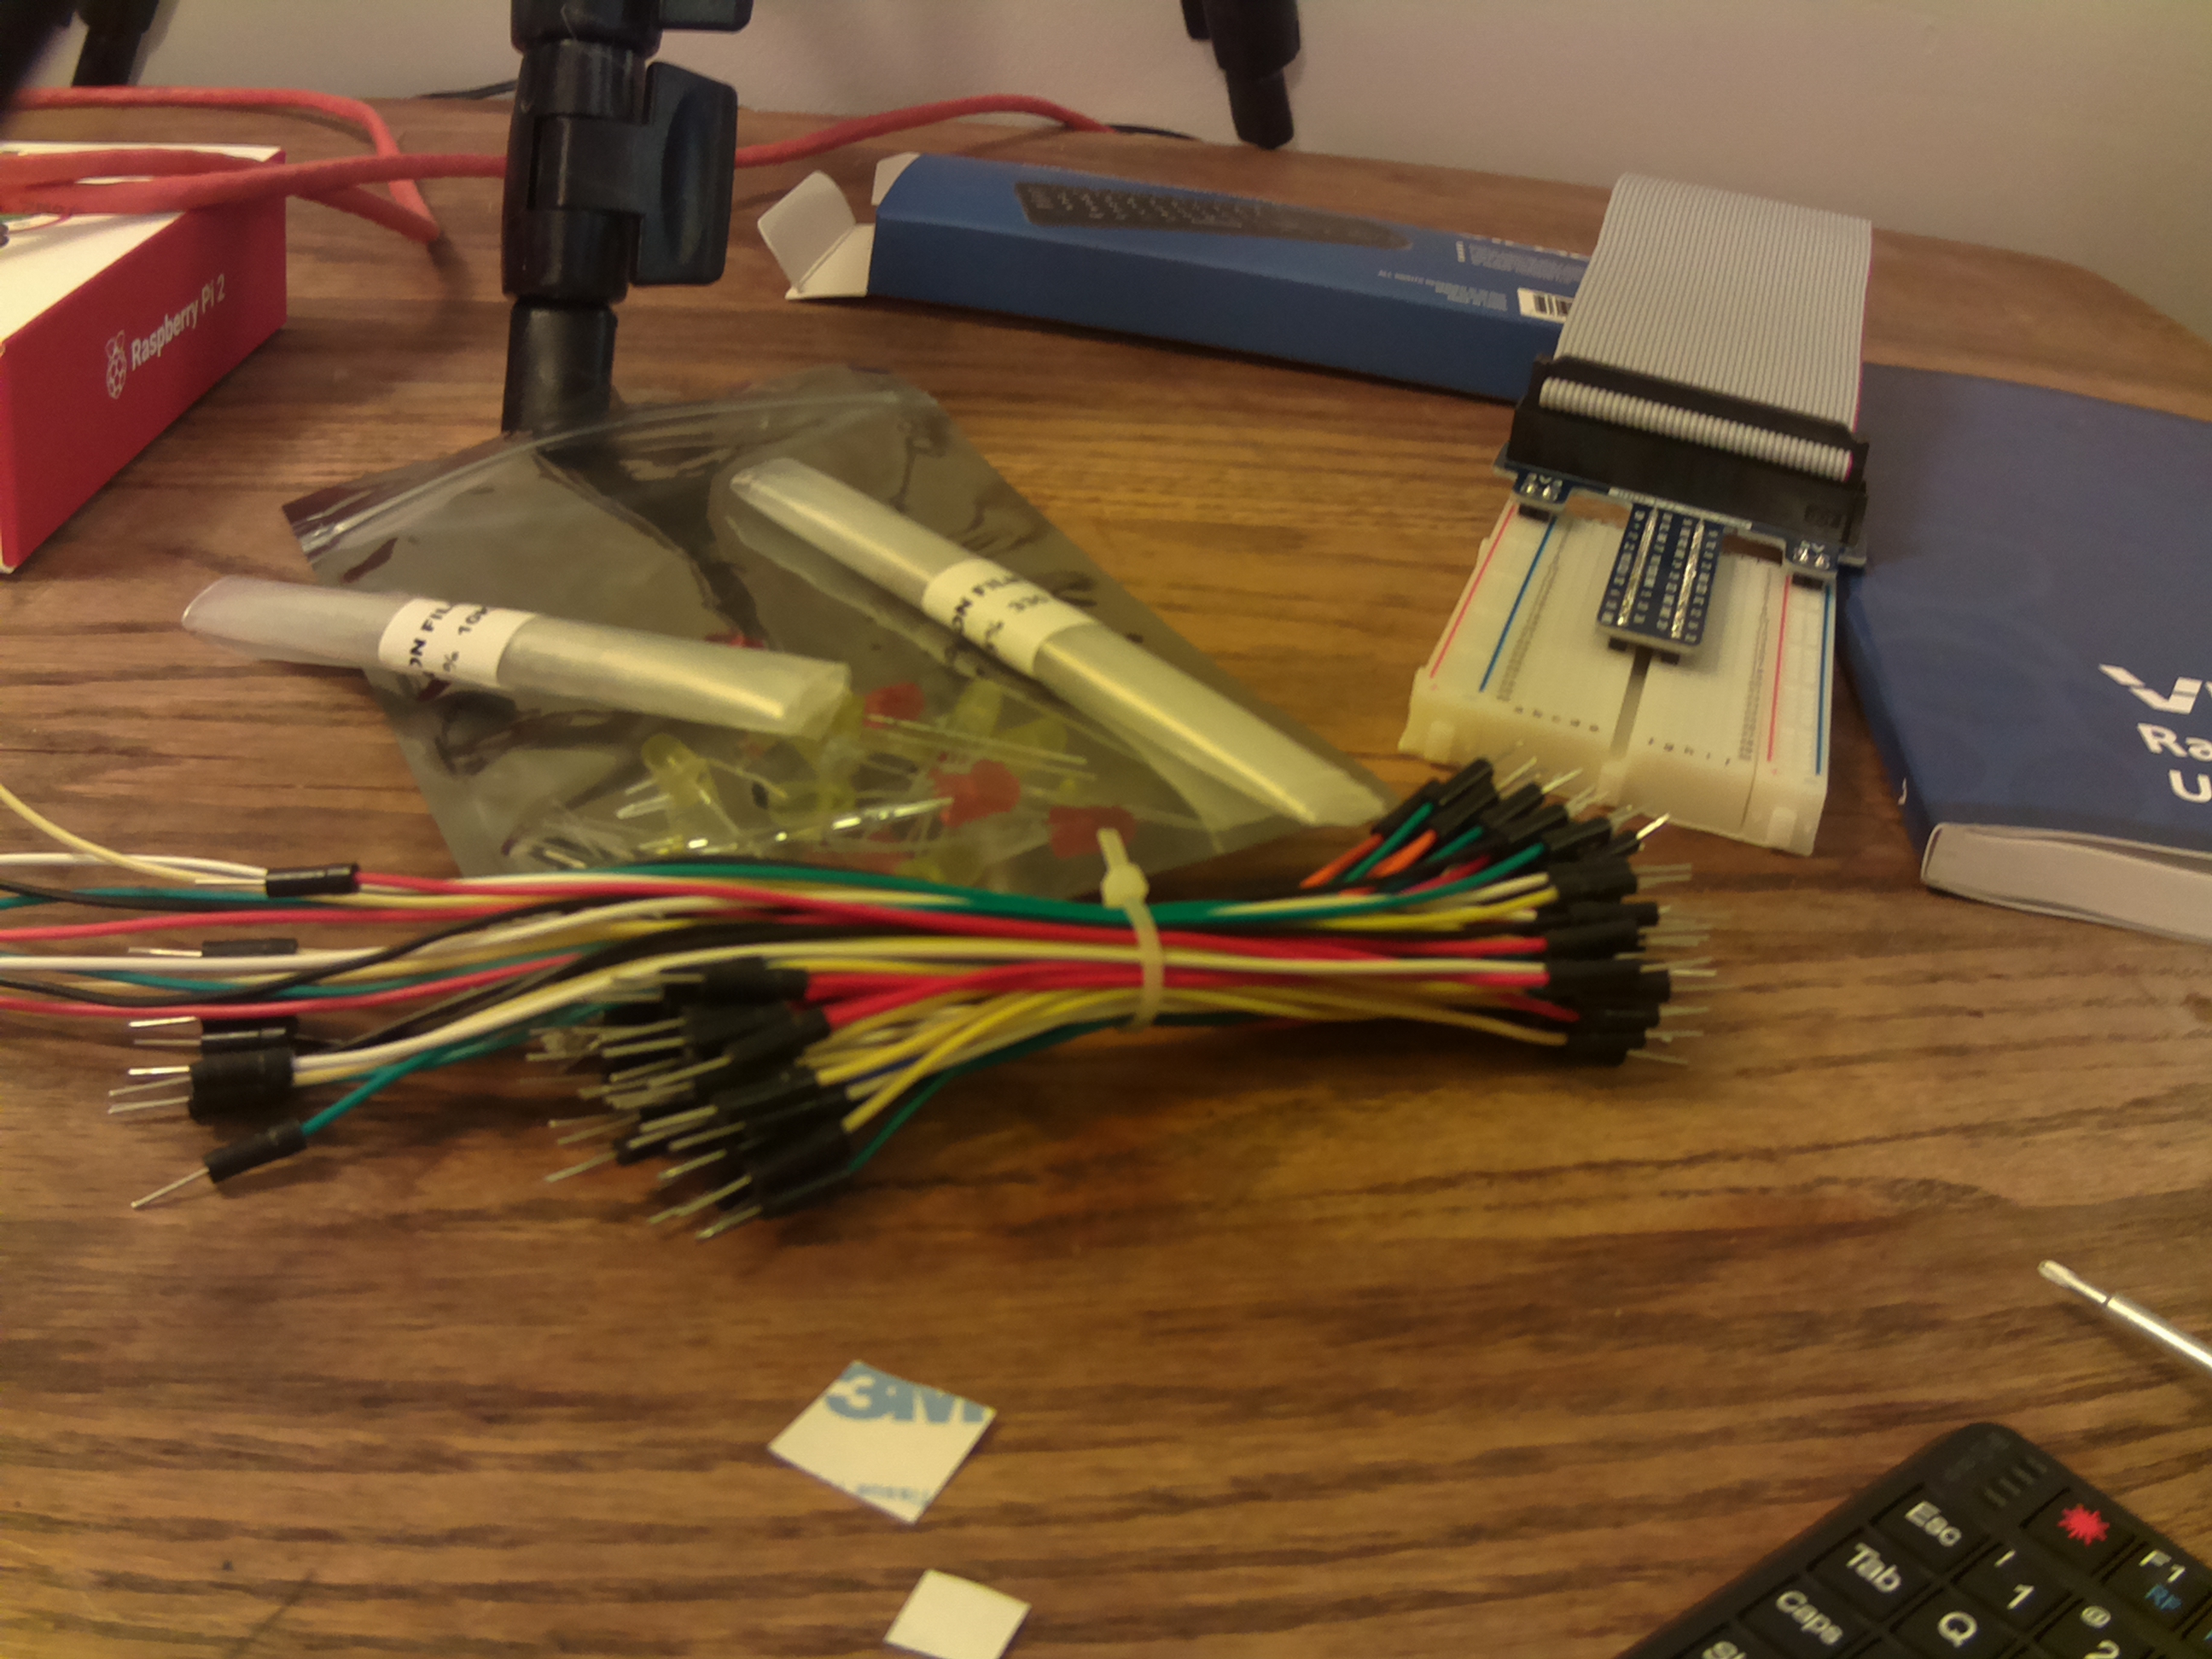
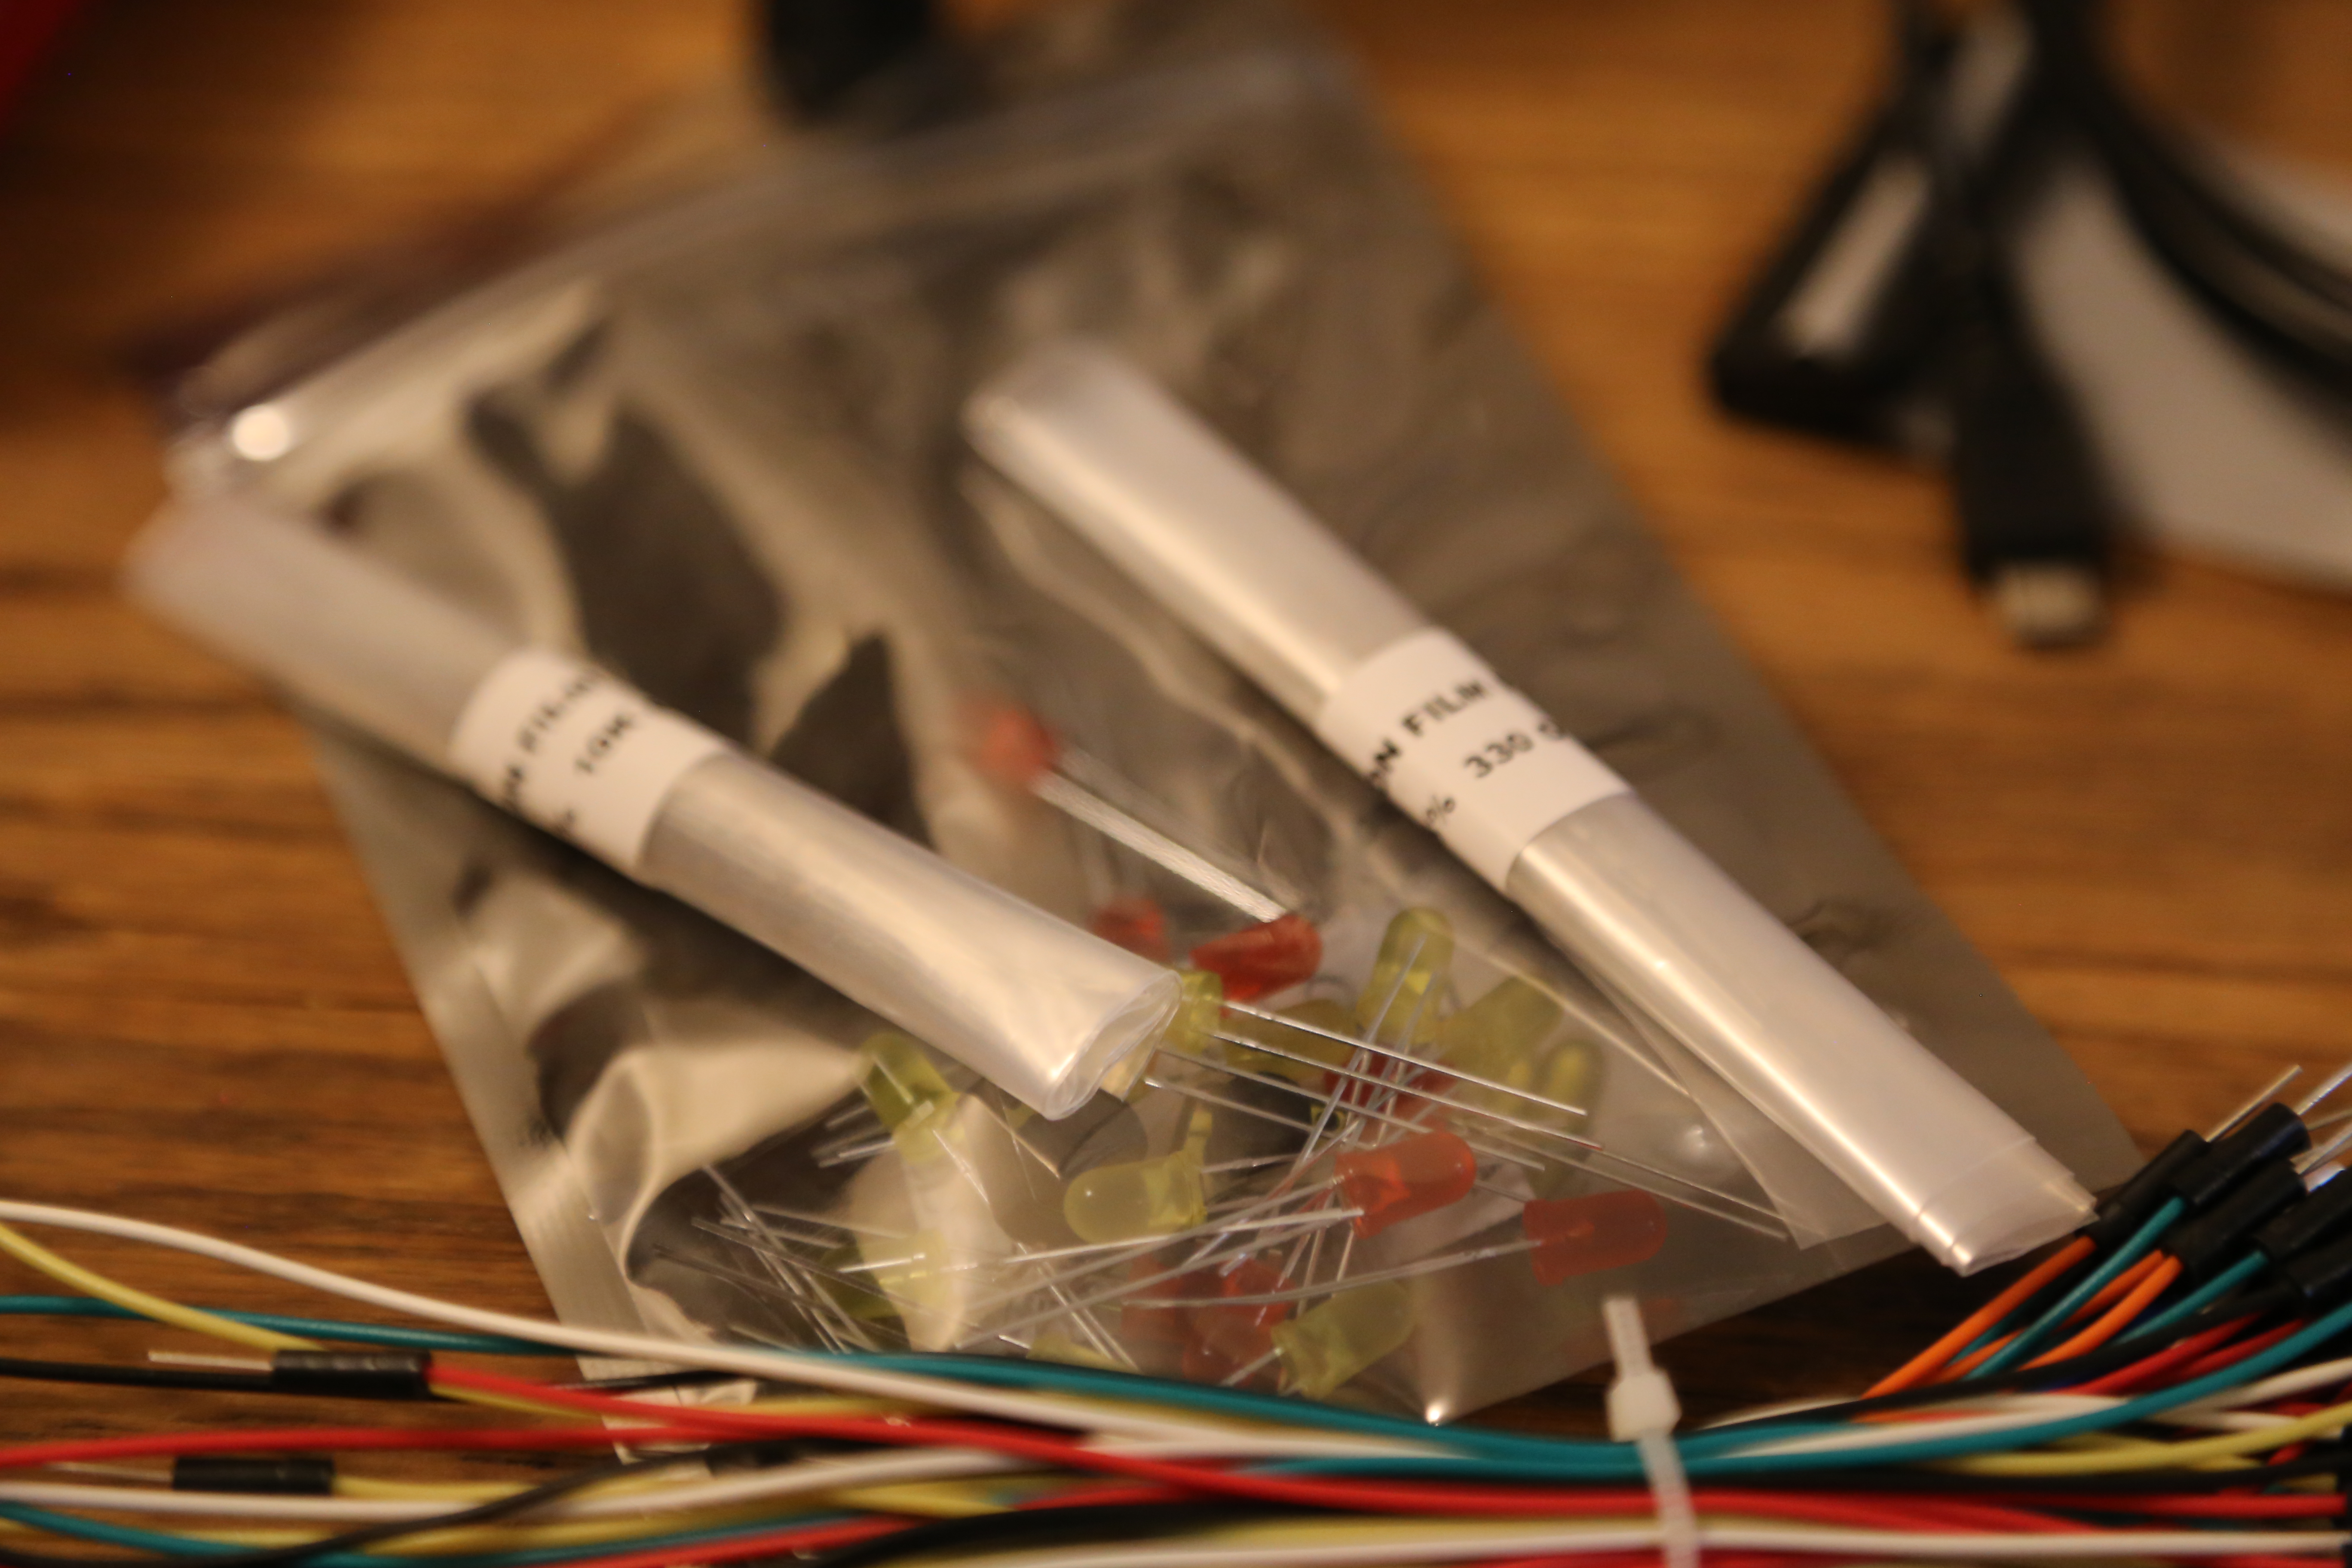
Electronics Prototyping Components
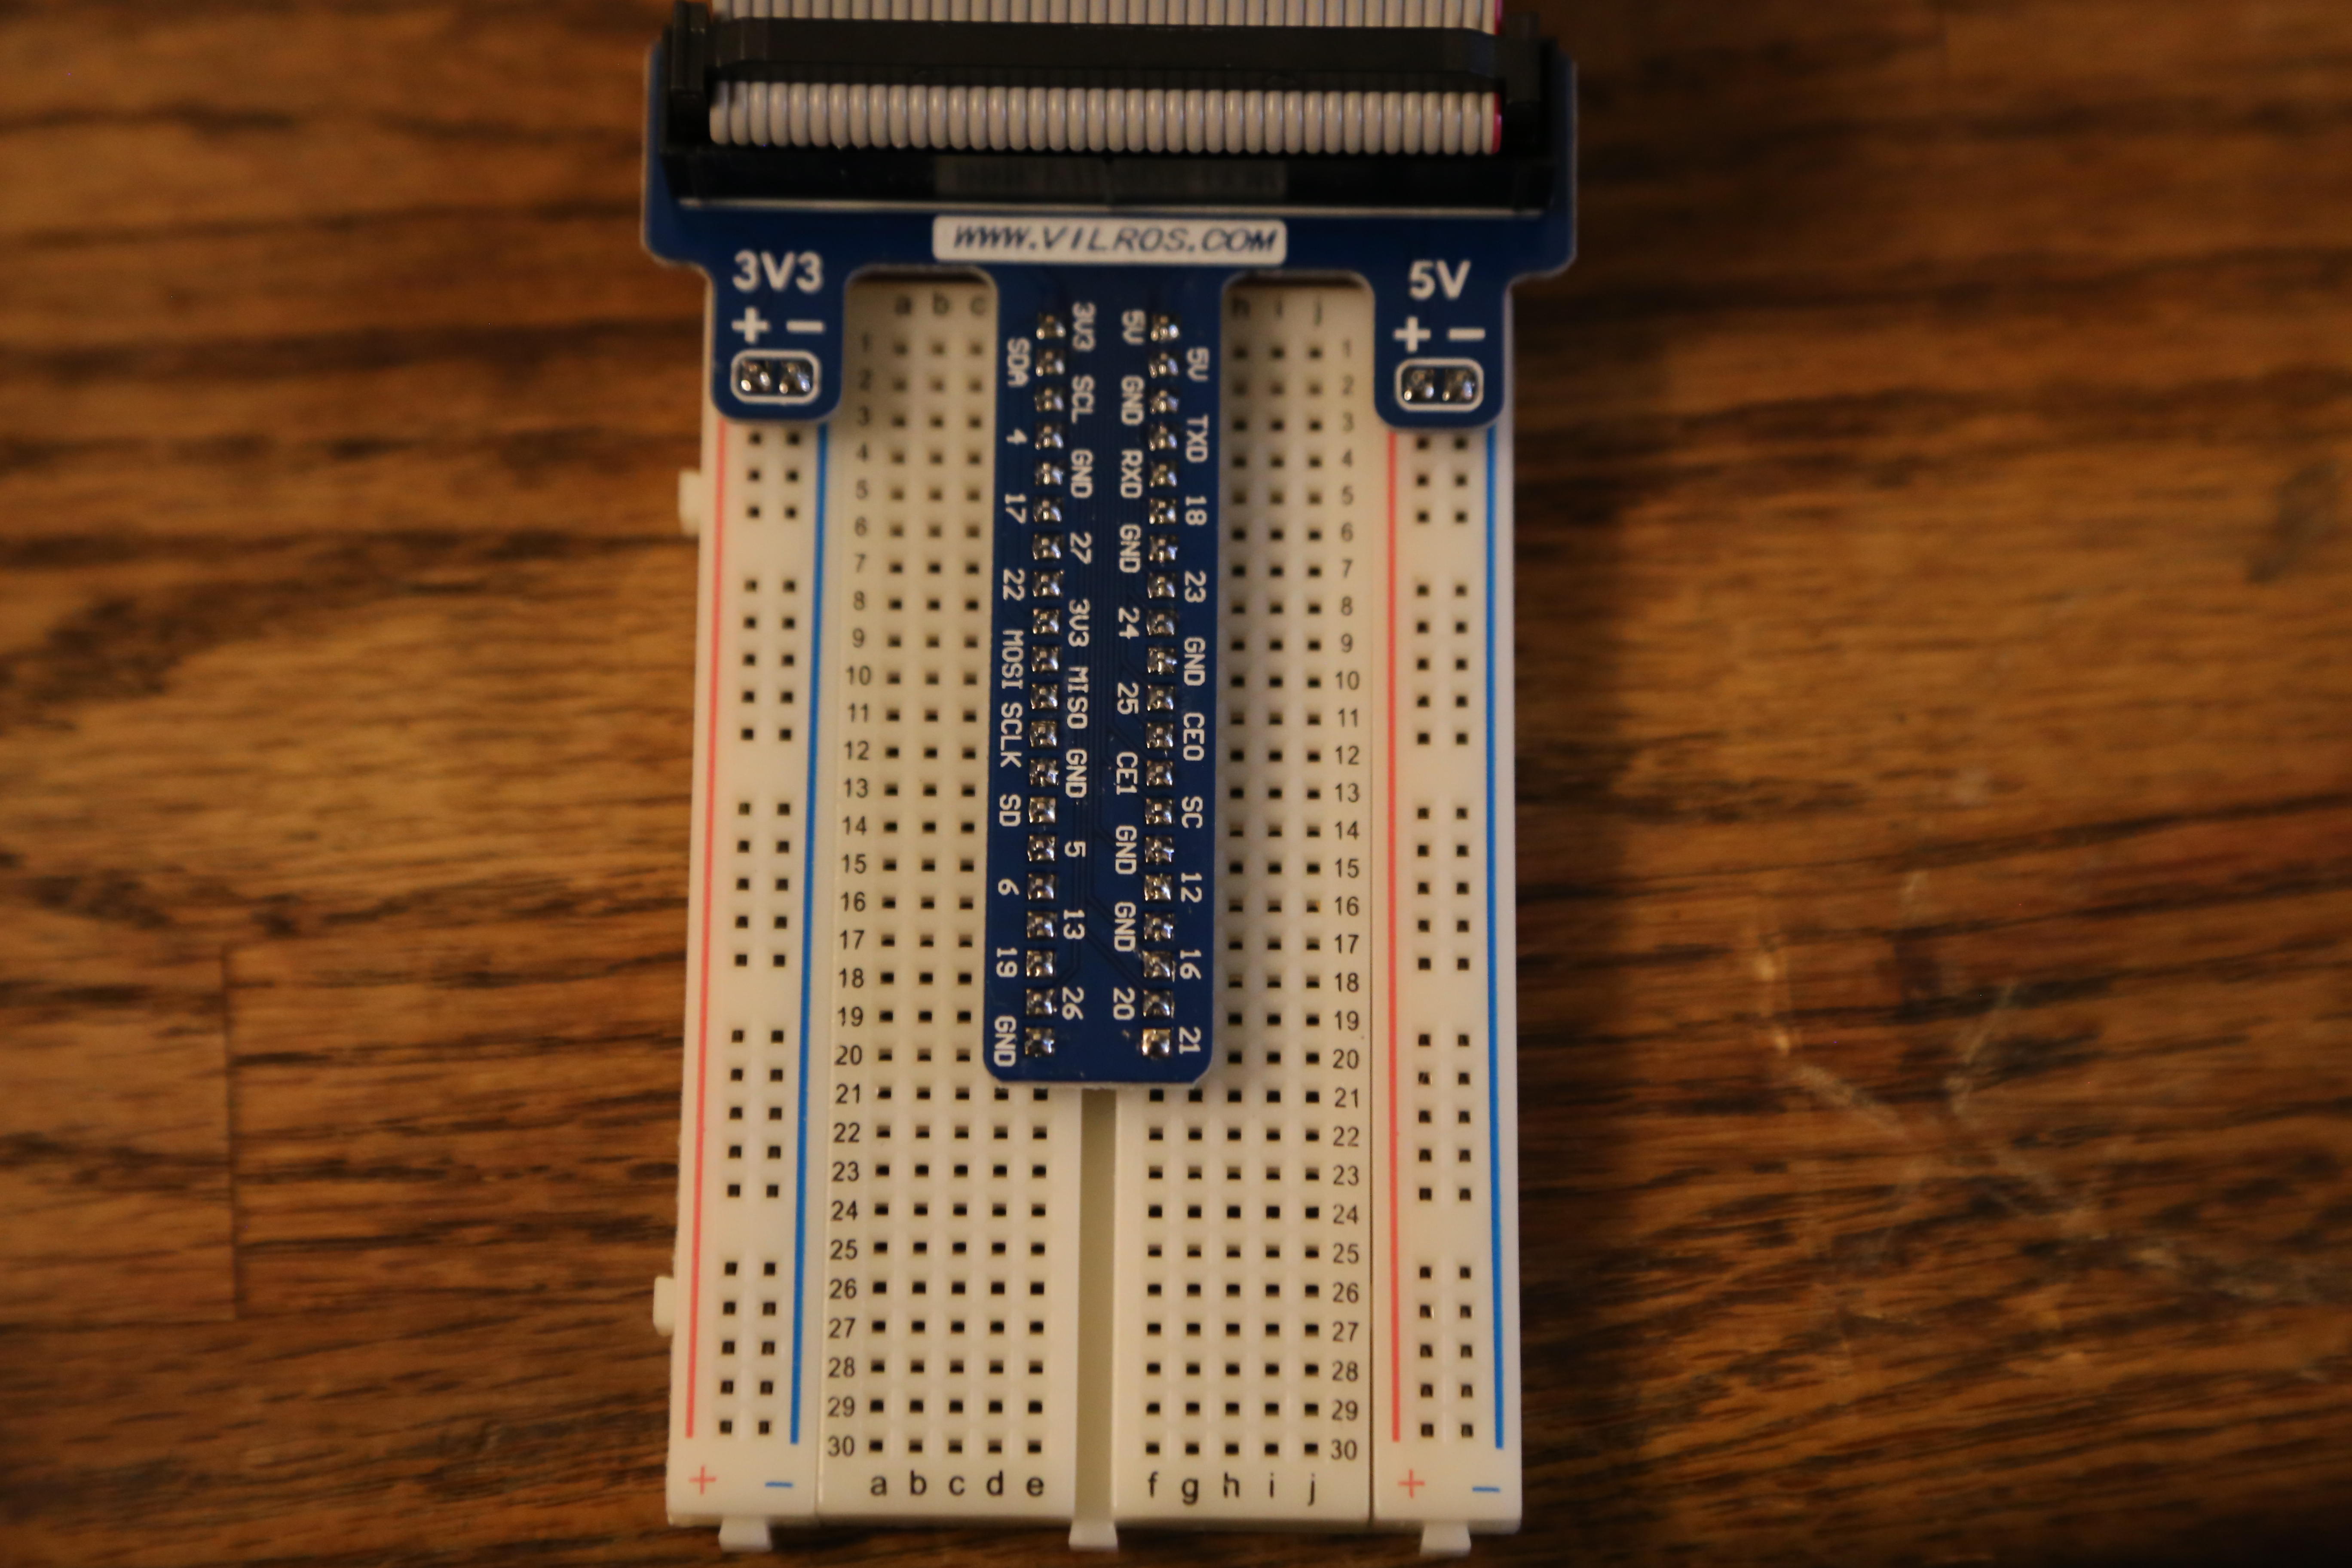
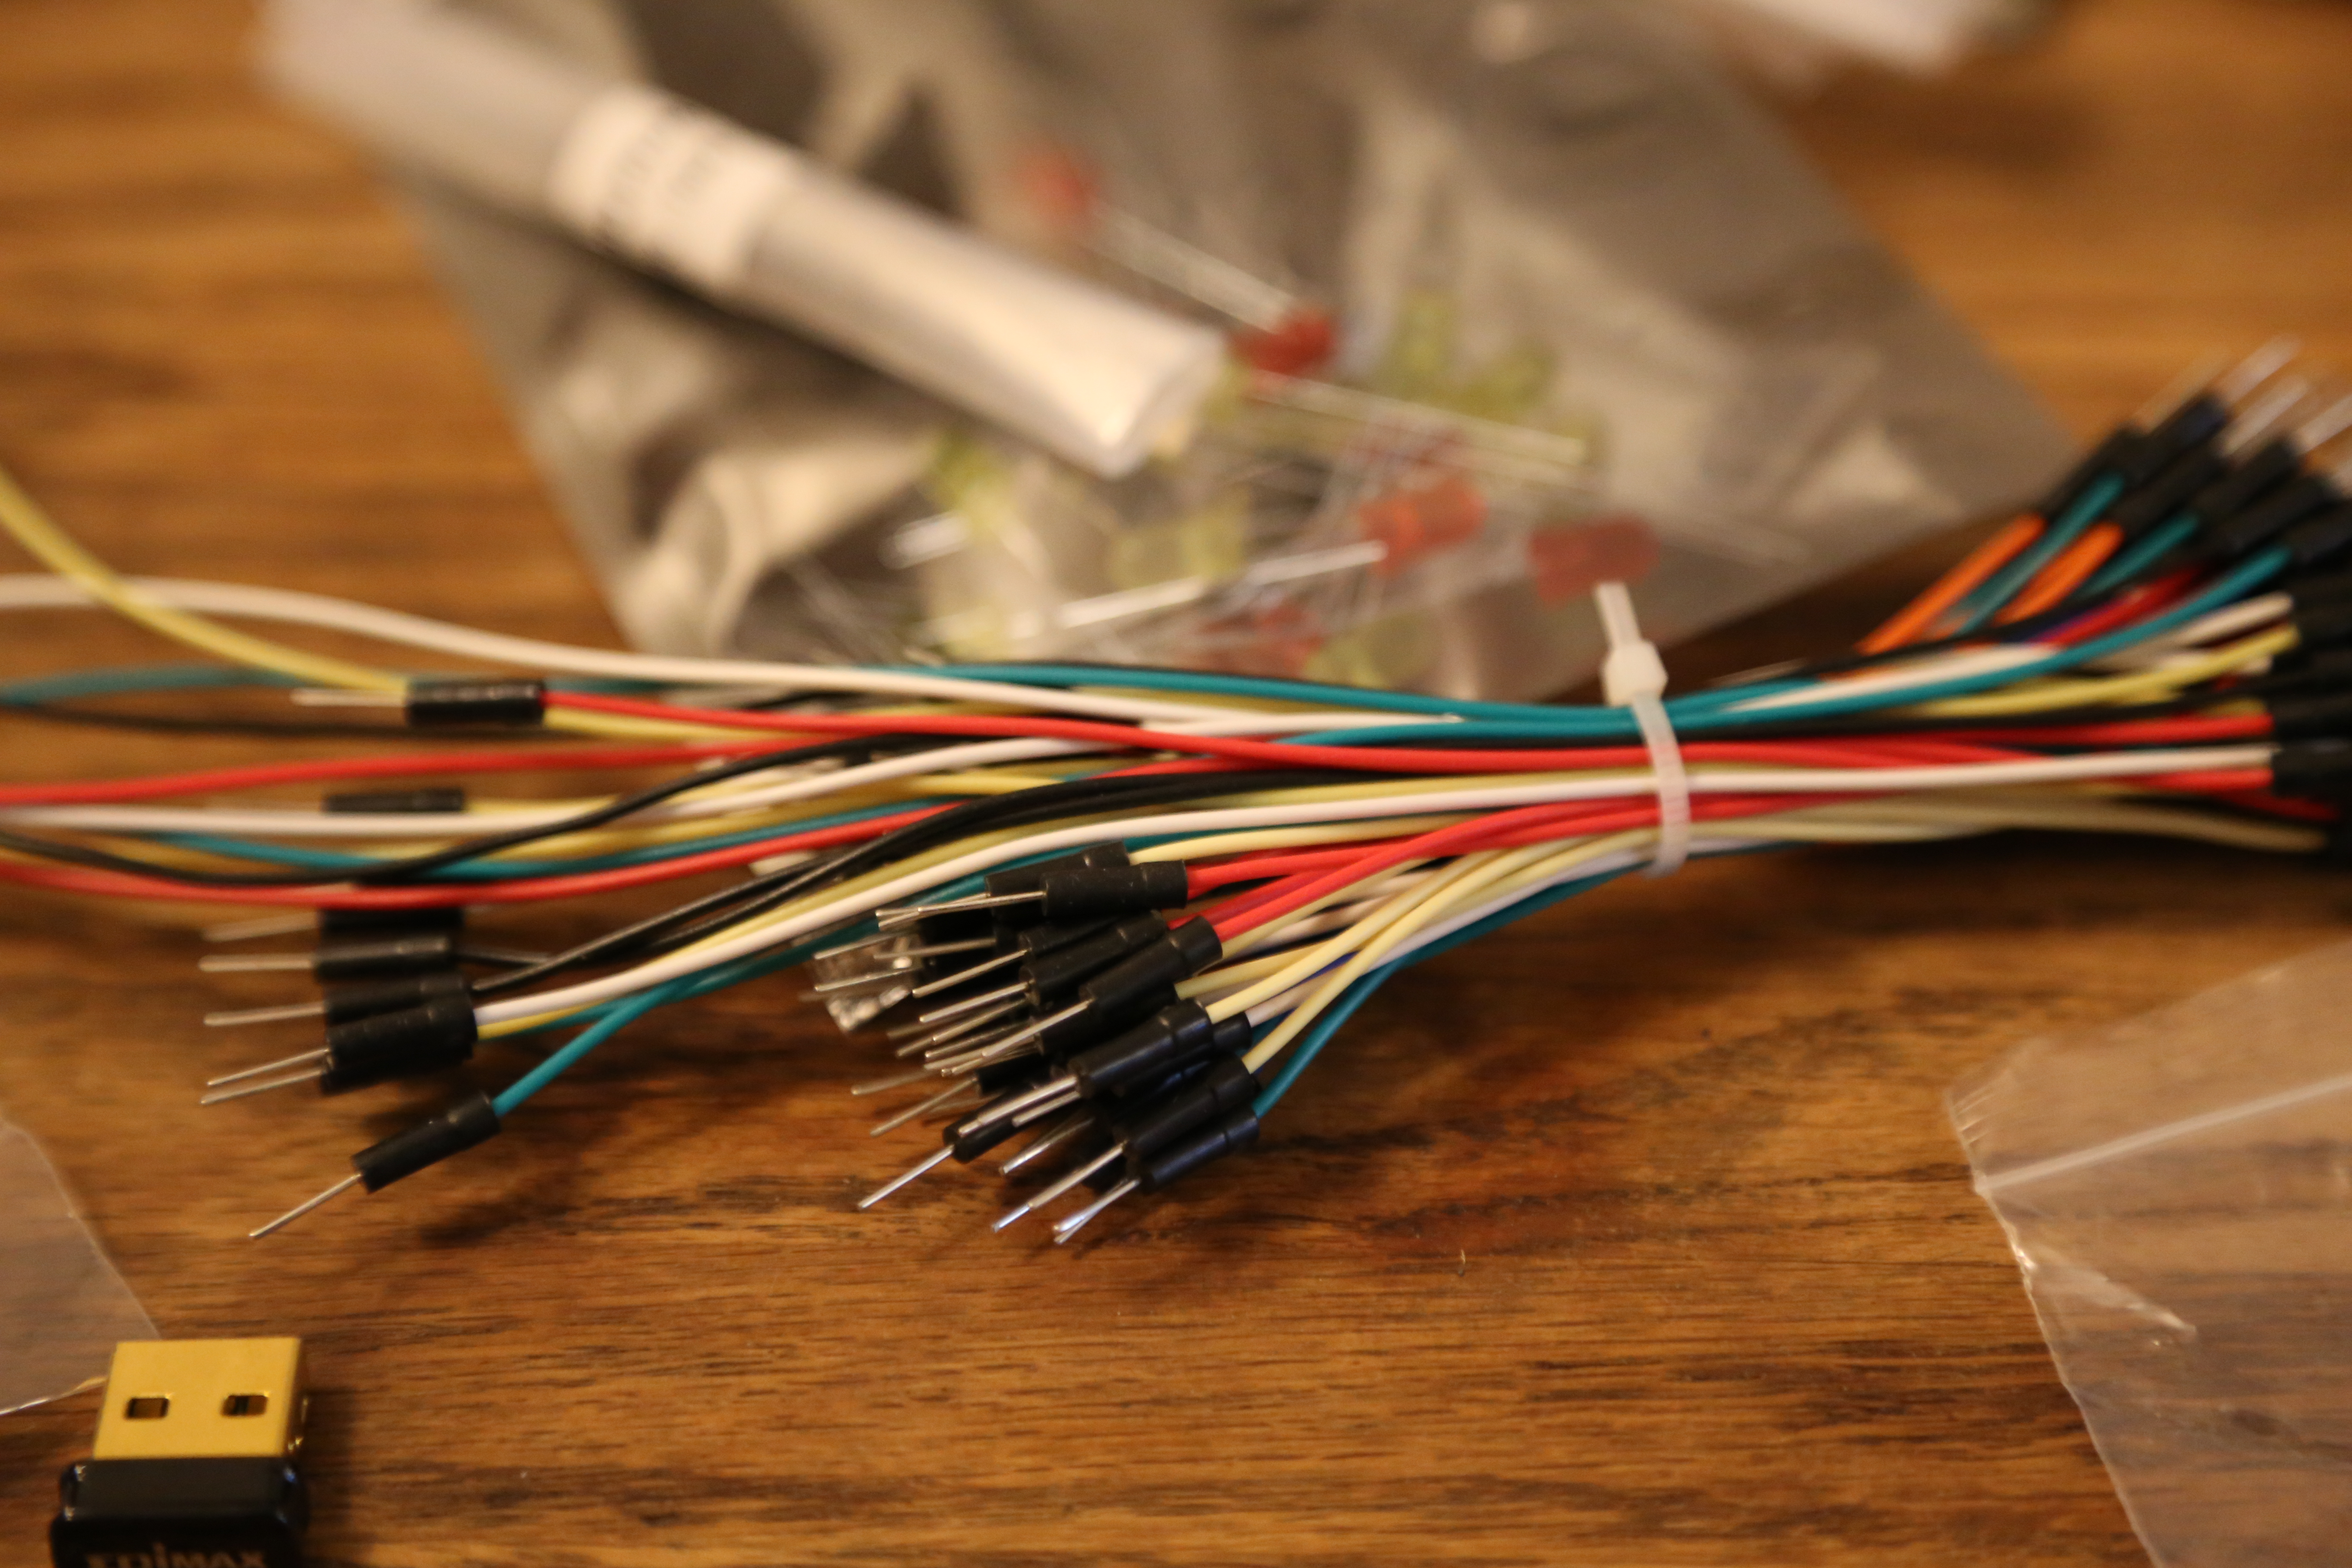
This part of the kit really shines if you want to use your Pi to control other things via relays and transistors (personally I’ve used Raspberry Pis to control my inground sprinkler valves and also to open/close my chicken coop door at dawn/dusk). The kit includes a GPIO cable for the Pi and a breakout board that plugs in to a standard breadboard (which is also included). This is the perfect setup for prototyping electronics circuits with the Pi.
It also comes with my favorite type of breadboard wires: flexible wires with hard pin ends of various lengths and colors. Really nice stuff. There’s also a package of yellow and red LEDs, a bundle of 330K Ohm resistors for using with the LEDs and a bundle of 10K Ohm resistors to use as pull up / pull down resistors. 2 Push buttons are also included.
My Project: Smart Mirror
I’m using this Pi to create a smart mirror that will display the weather and other information on a display behind a mirror made with a regular sheet of glass and some half-silvered (one way) mirror film. I don’t have the right cable adapter to make my monitor fit in the space behind the mirror so here’s a quick Proof of Concept shot of it still on my desk.

I hope this post helps you get started using and loving the Raspberry Pi as I do!
The kit reviewed in this post is available for $129.99 from amazon here: http://amzn.to/1OttVJH
Full disclosure: I received this kit free in exchange for an honest review.

That is cool